Eibach Rear Camber Kit for 02-06 RSX/01-05 Civic
- Camber Adjustment Range +/- 3.0
- Suitable for Street and Track Use
- Fits RSX, EP3 Civic Si, and EM2/ES1 Civic
- Ideal for Dialing in Stance or Track Alignments
- Description
- Vehicle Fitment
- Technical Data
- Included
- Install Guide
-
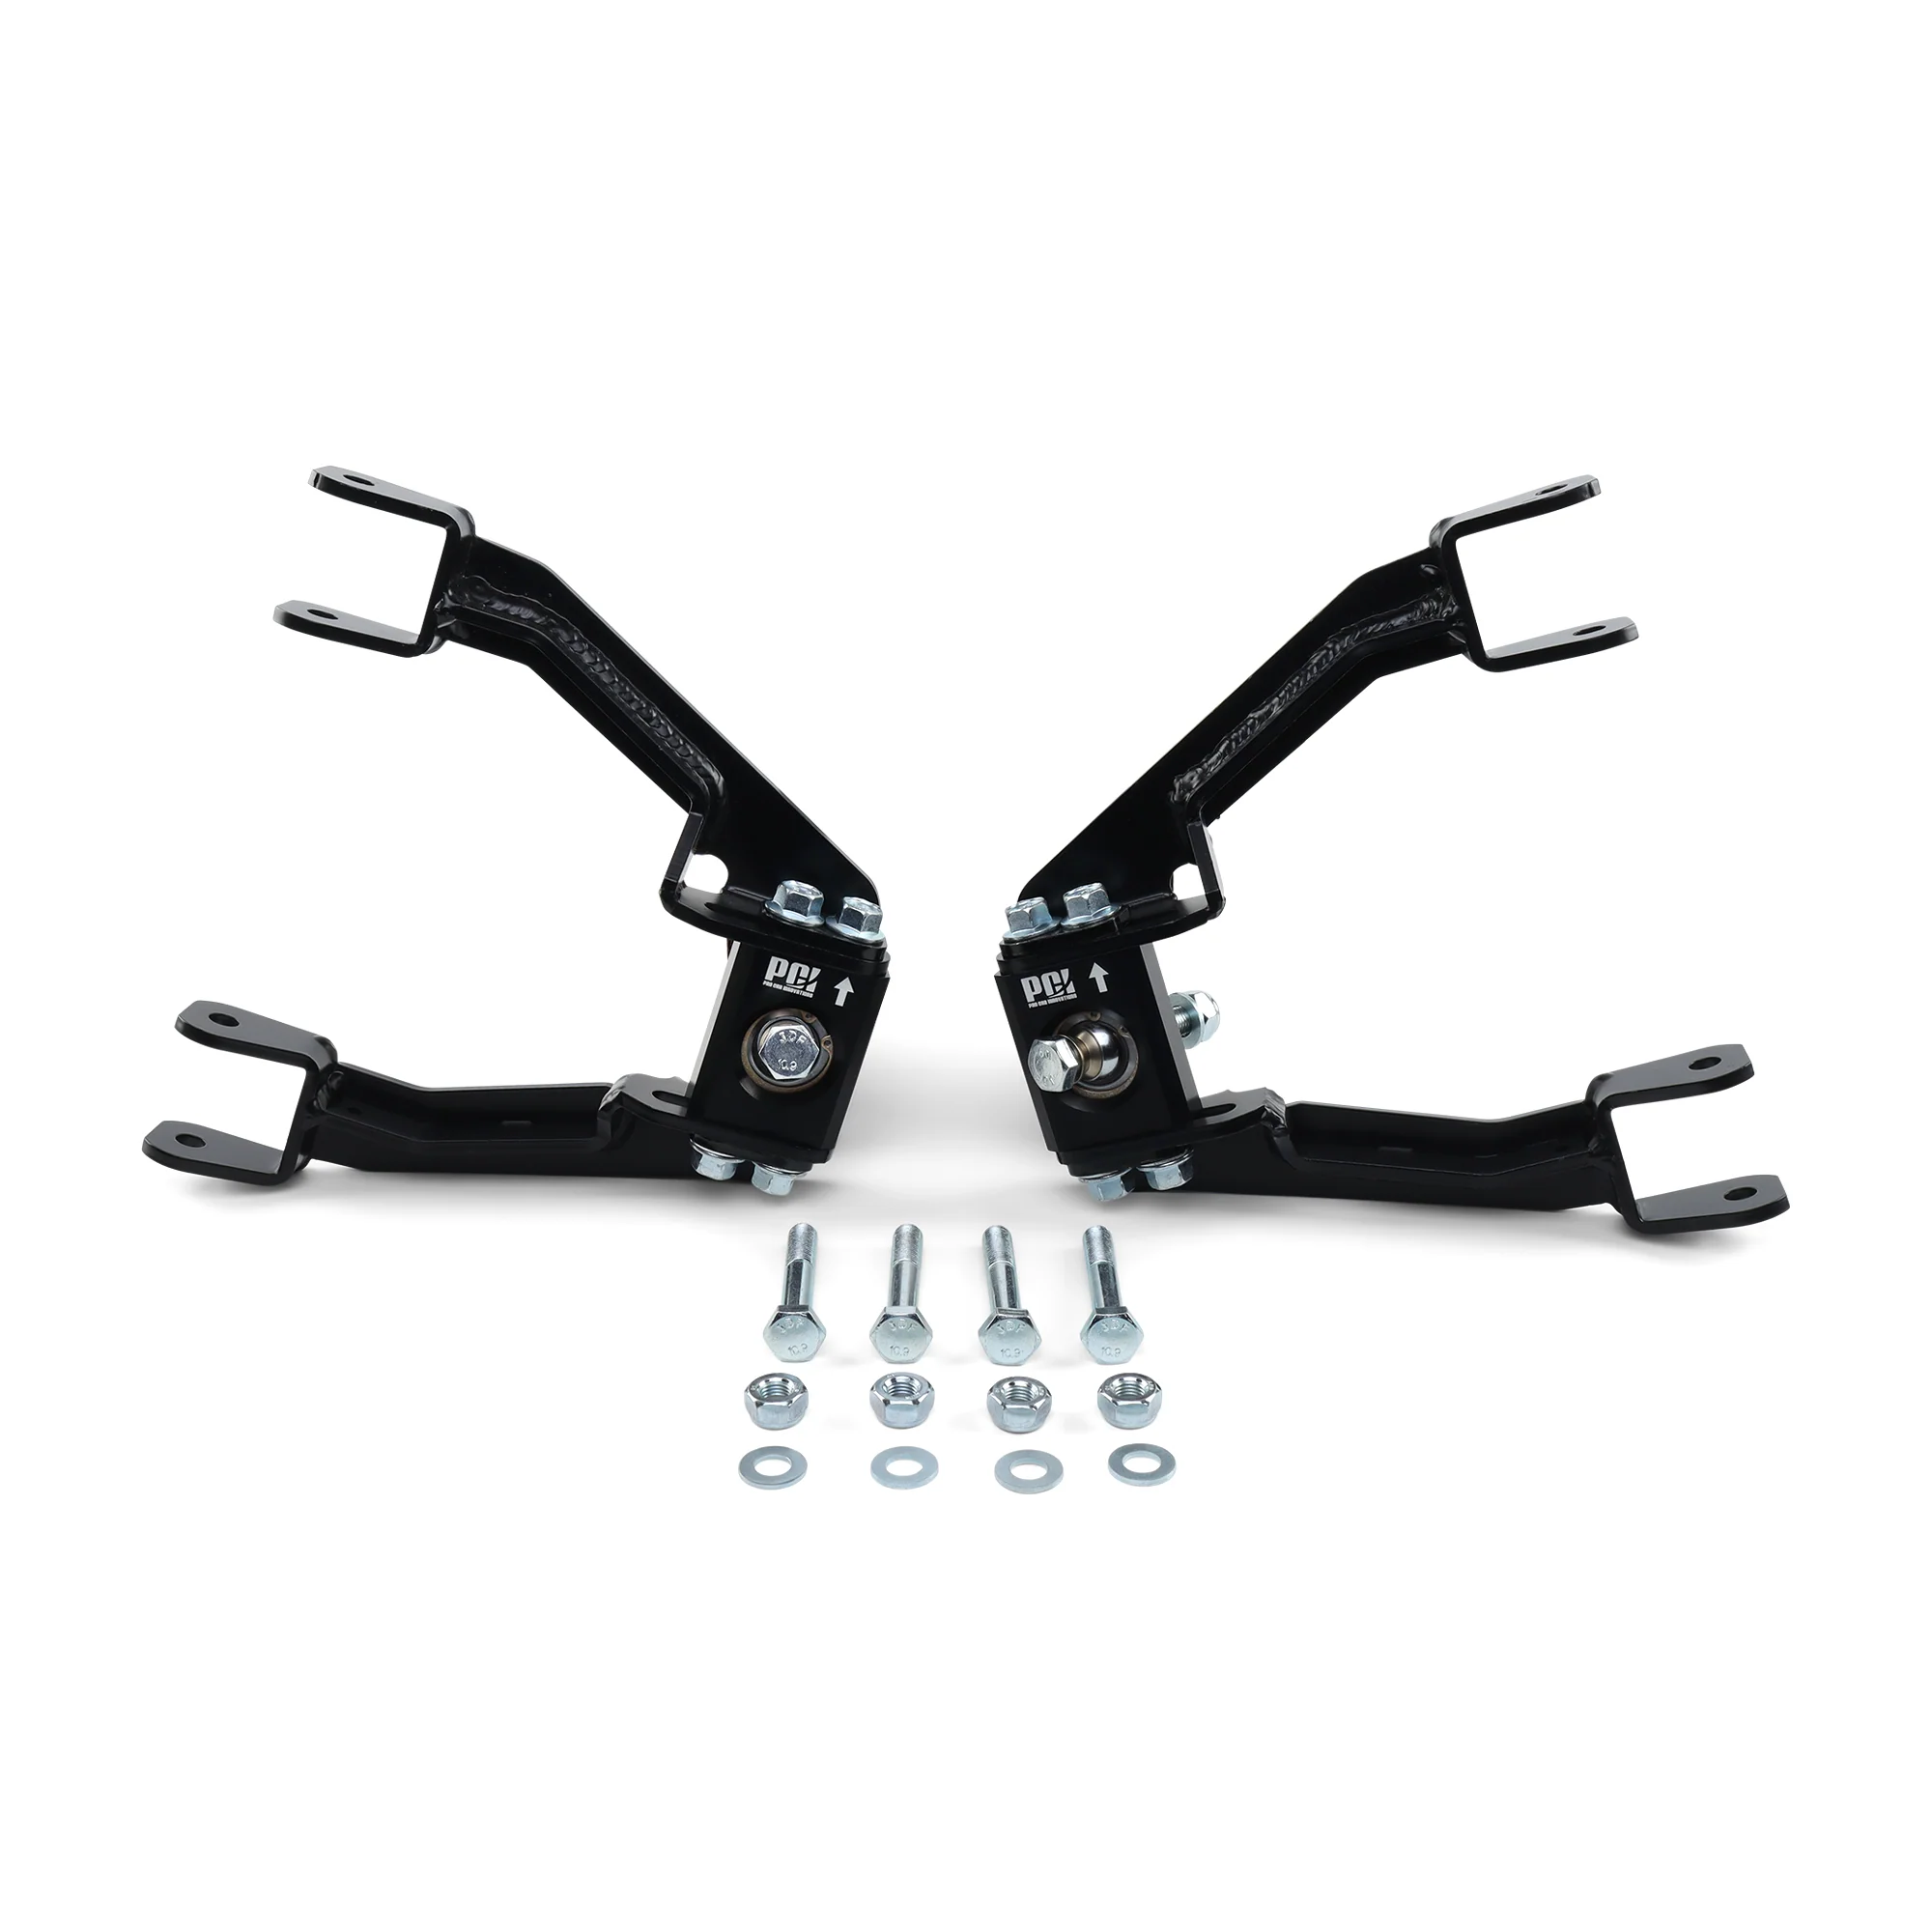
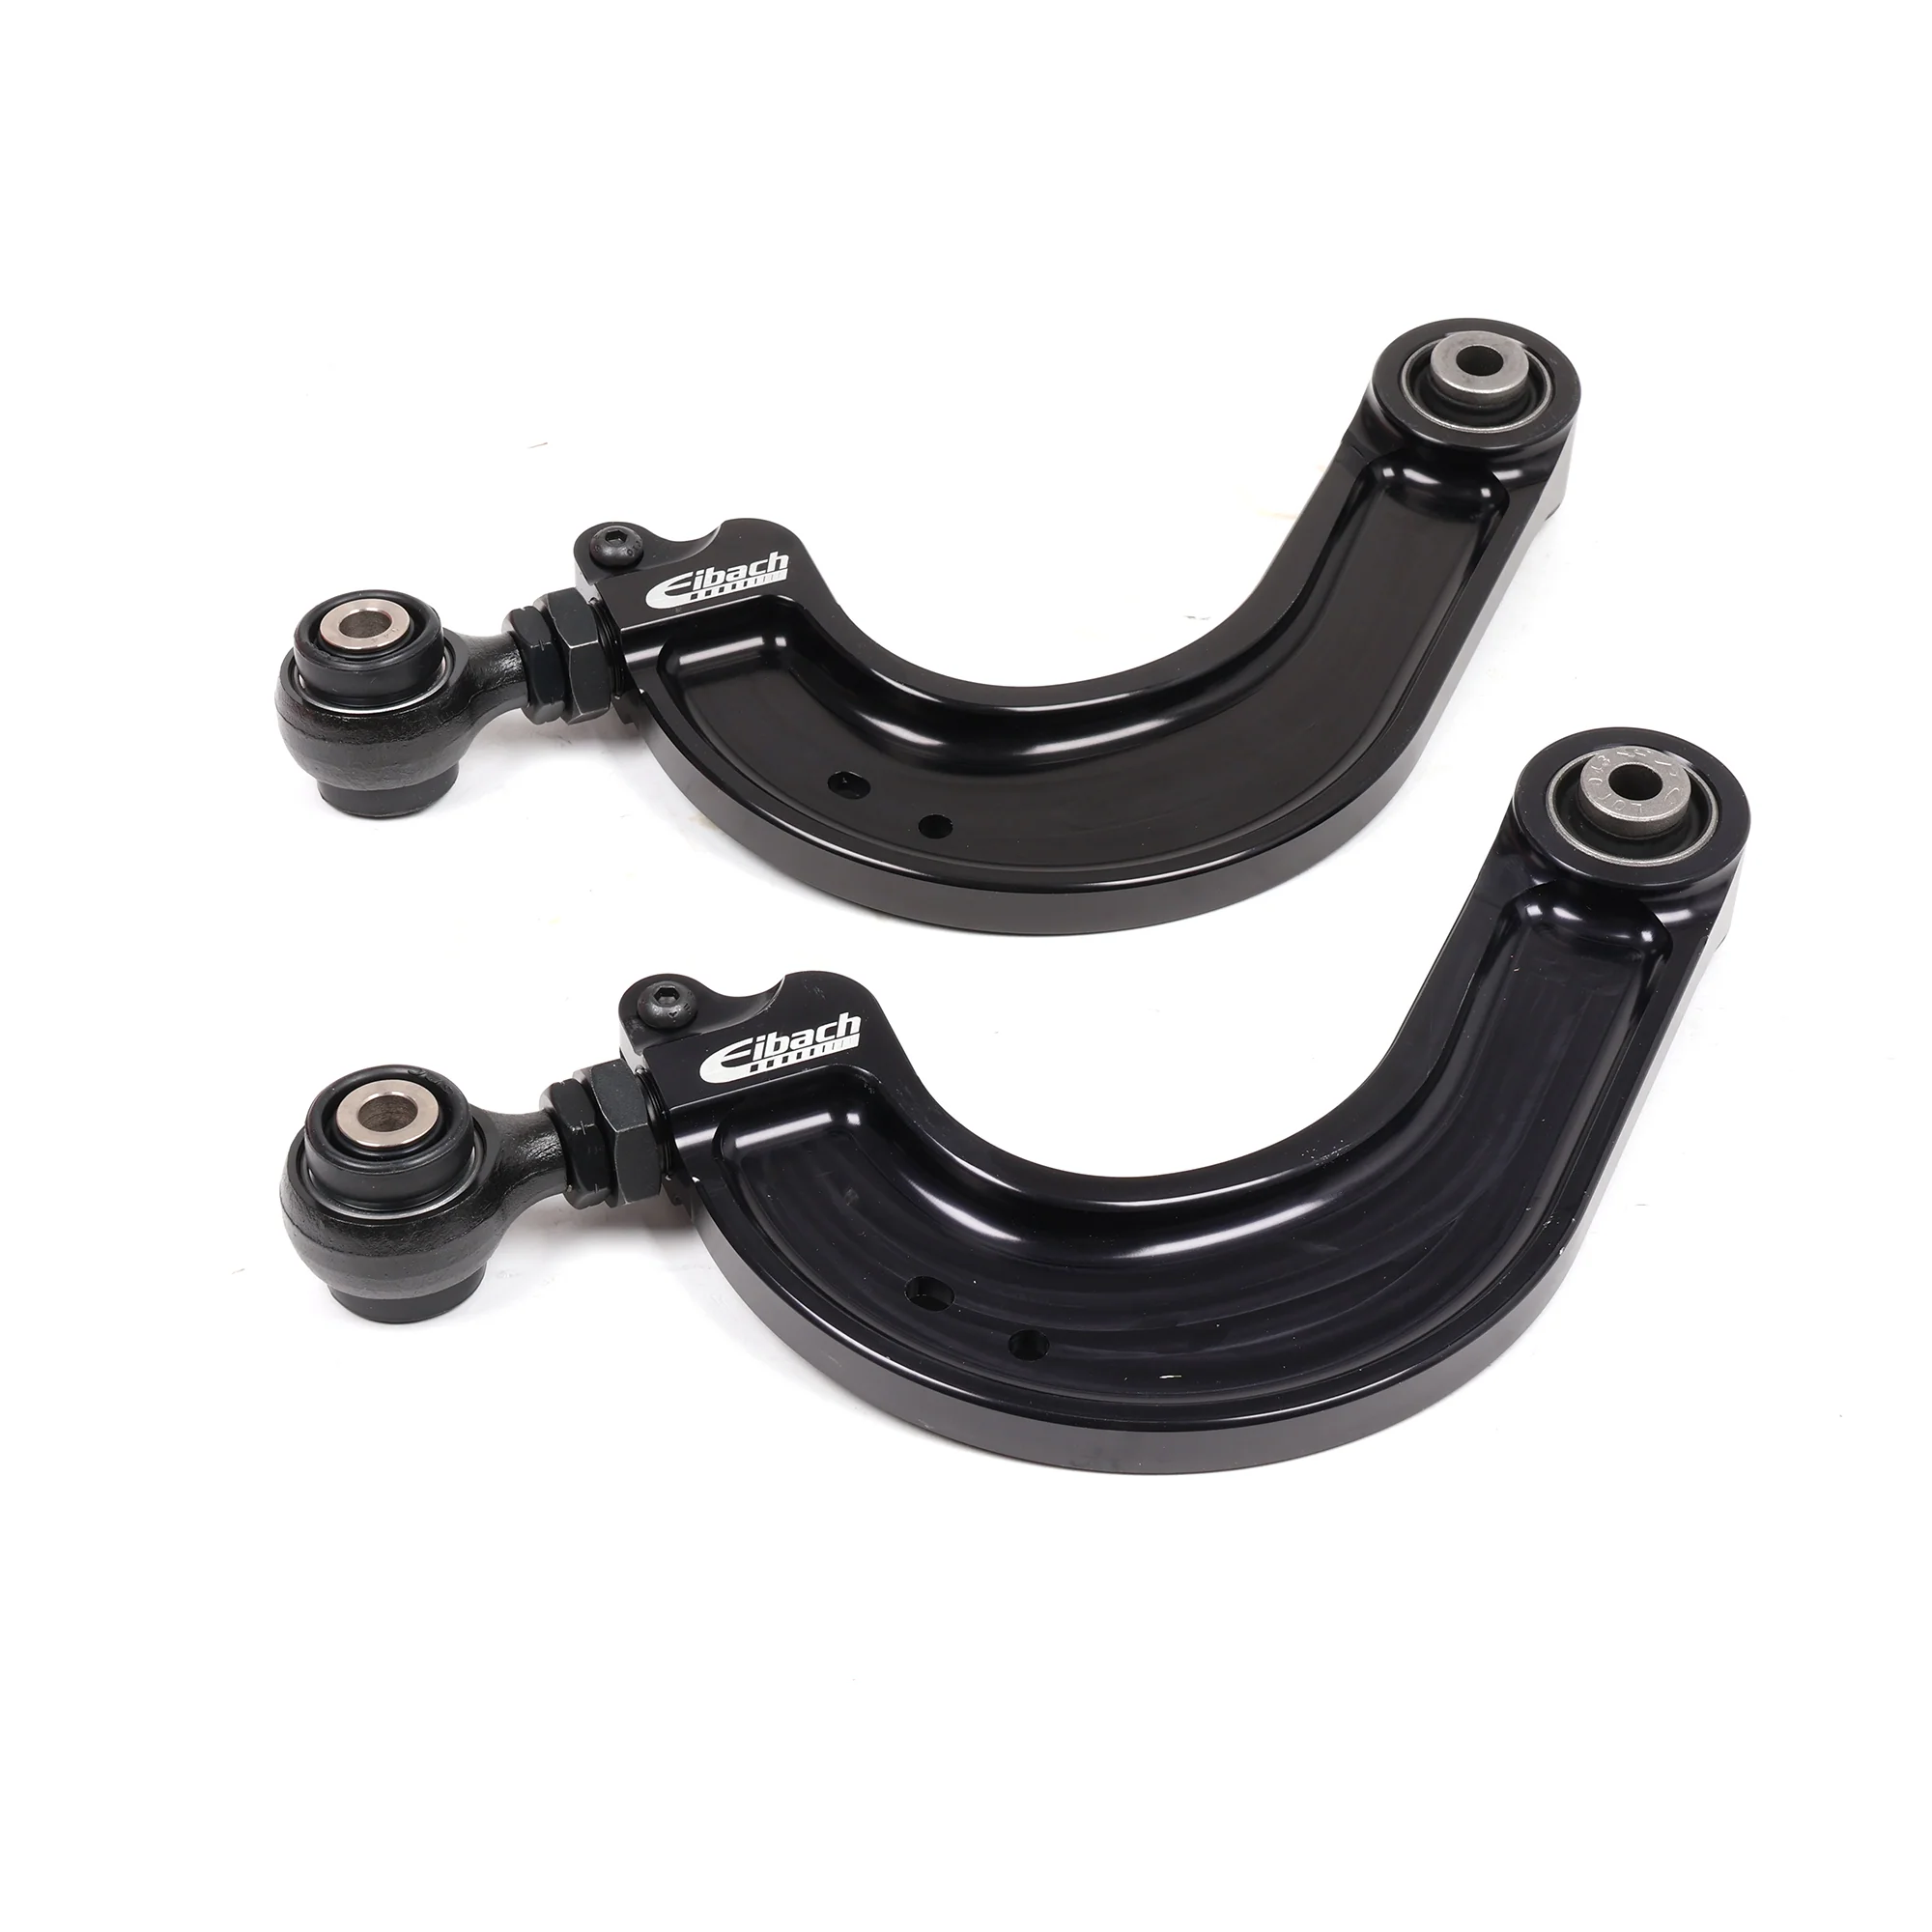
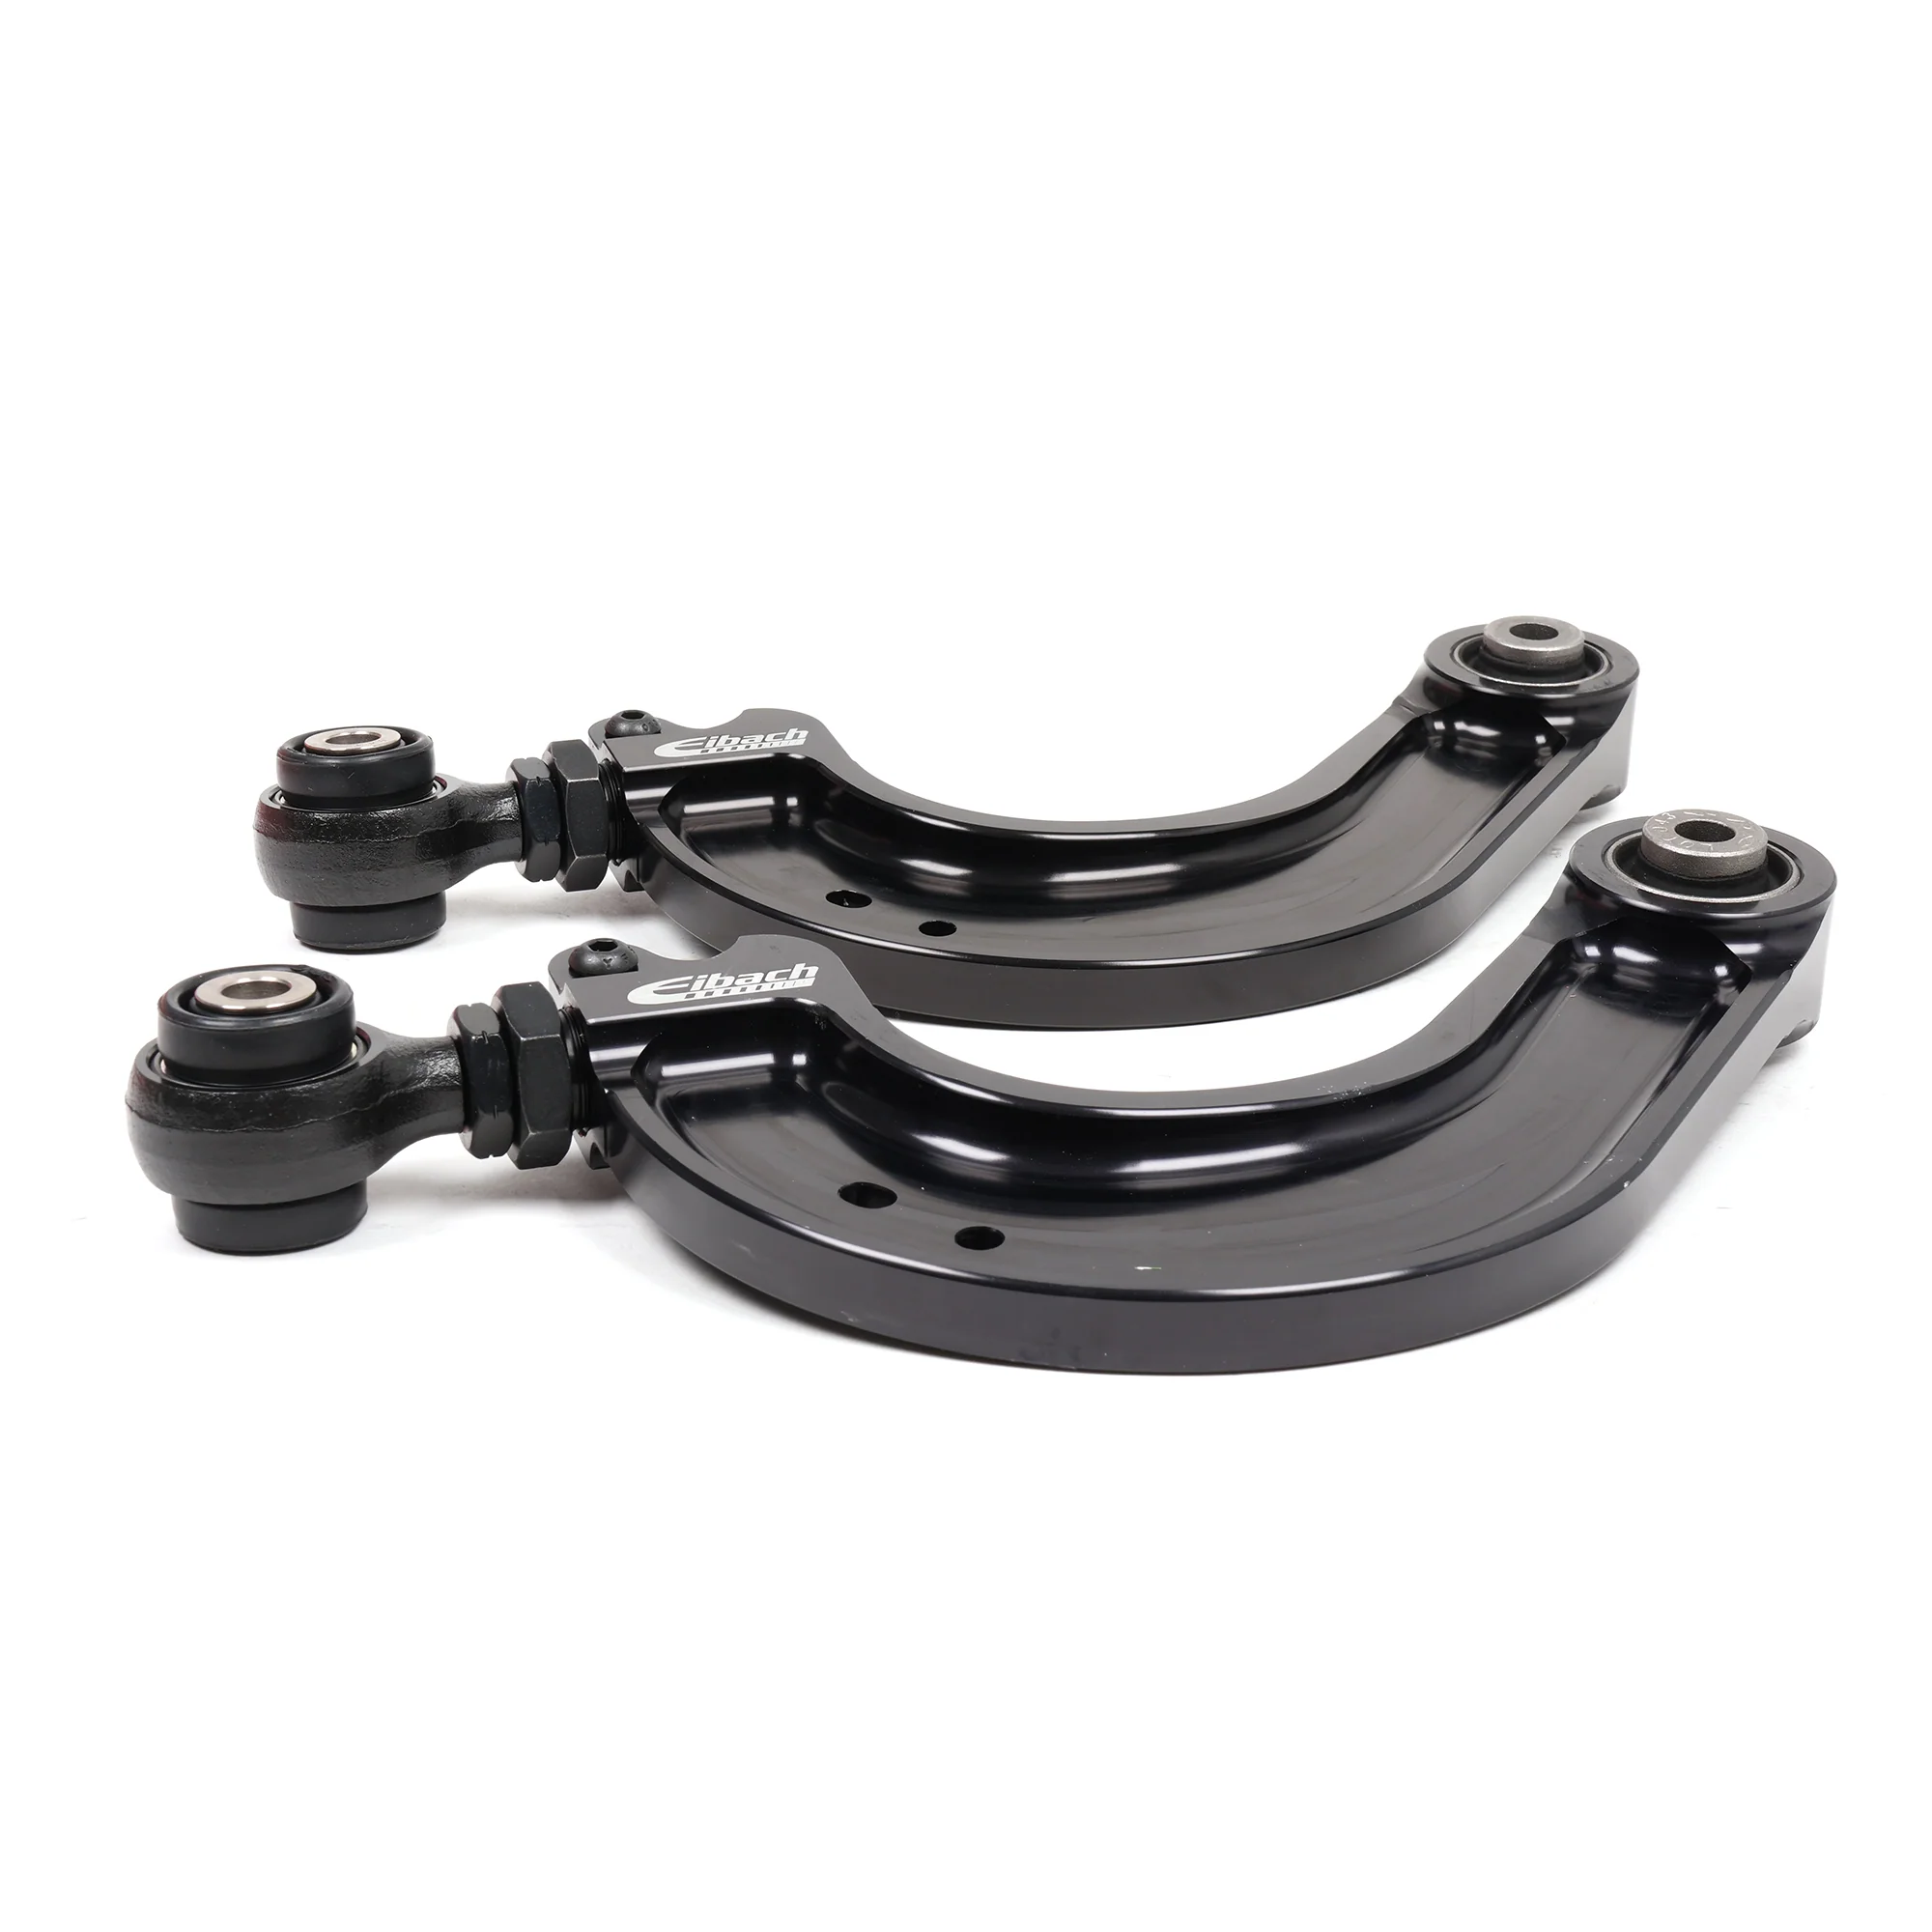
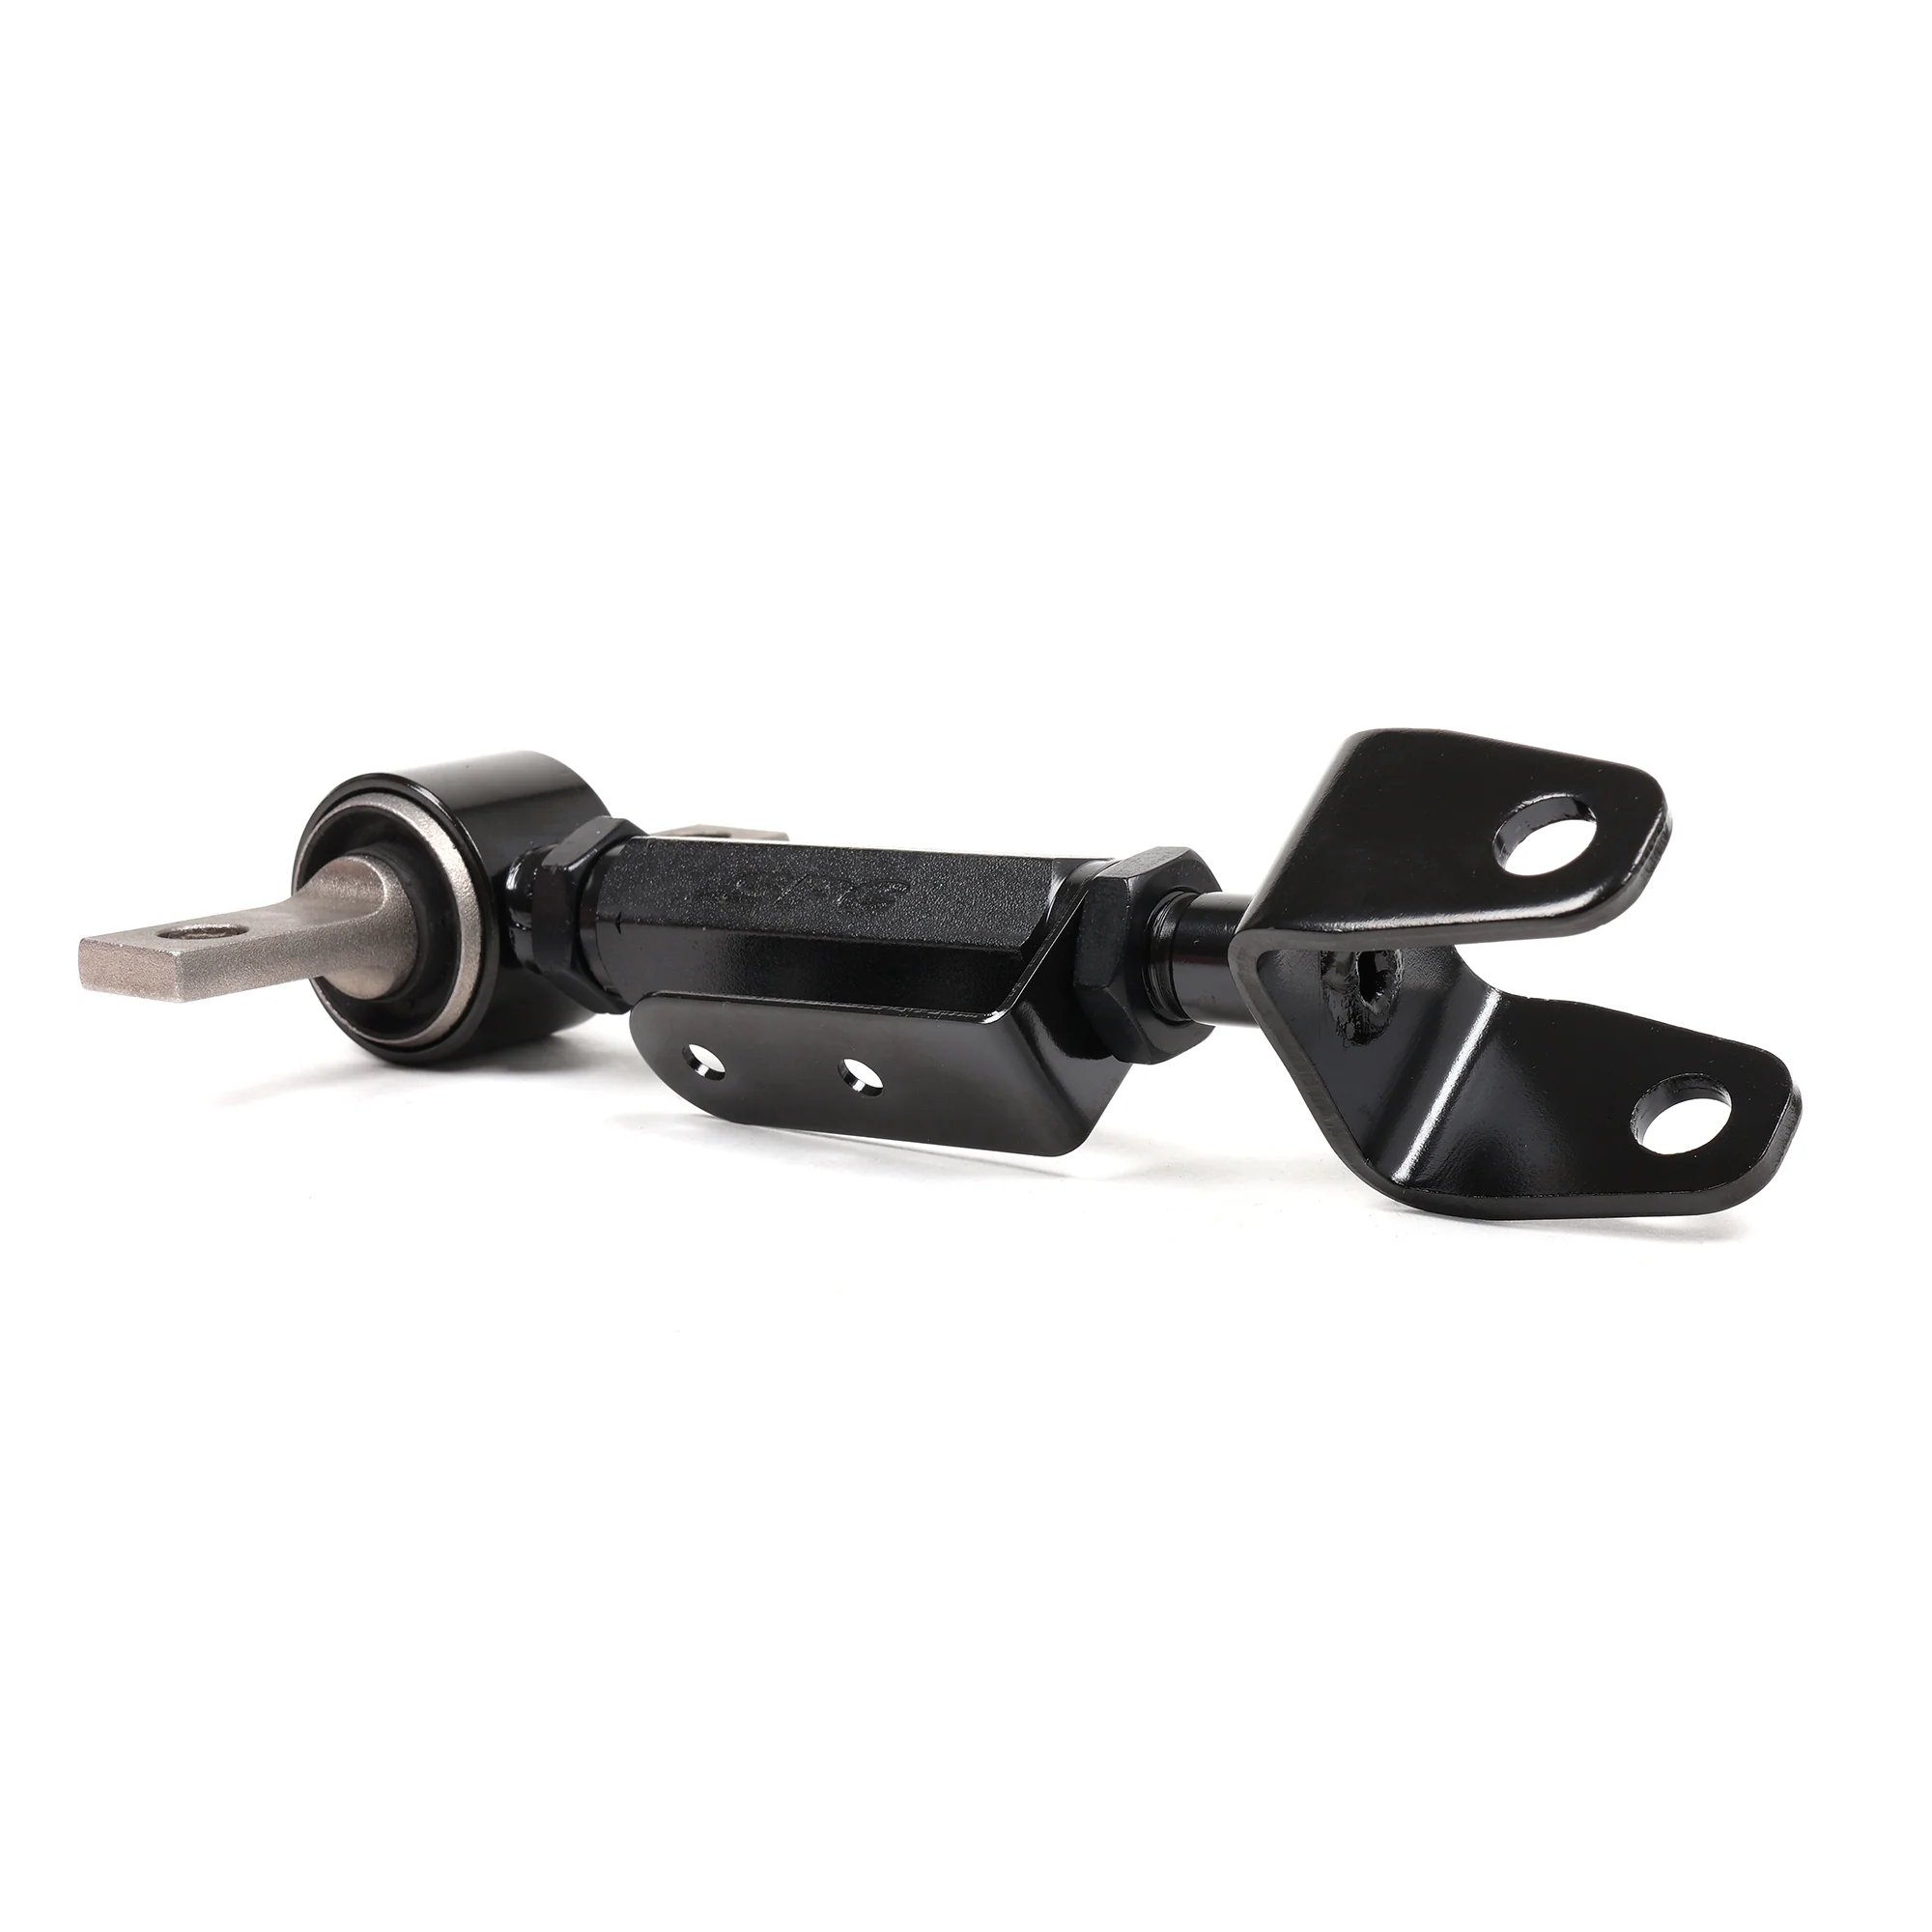
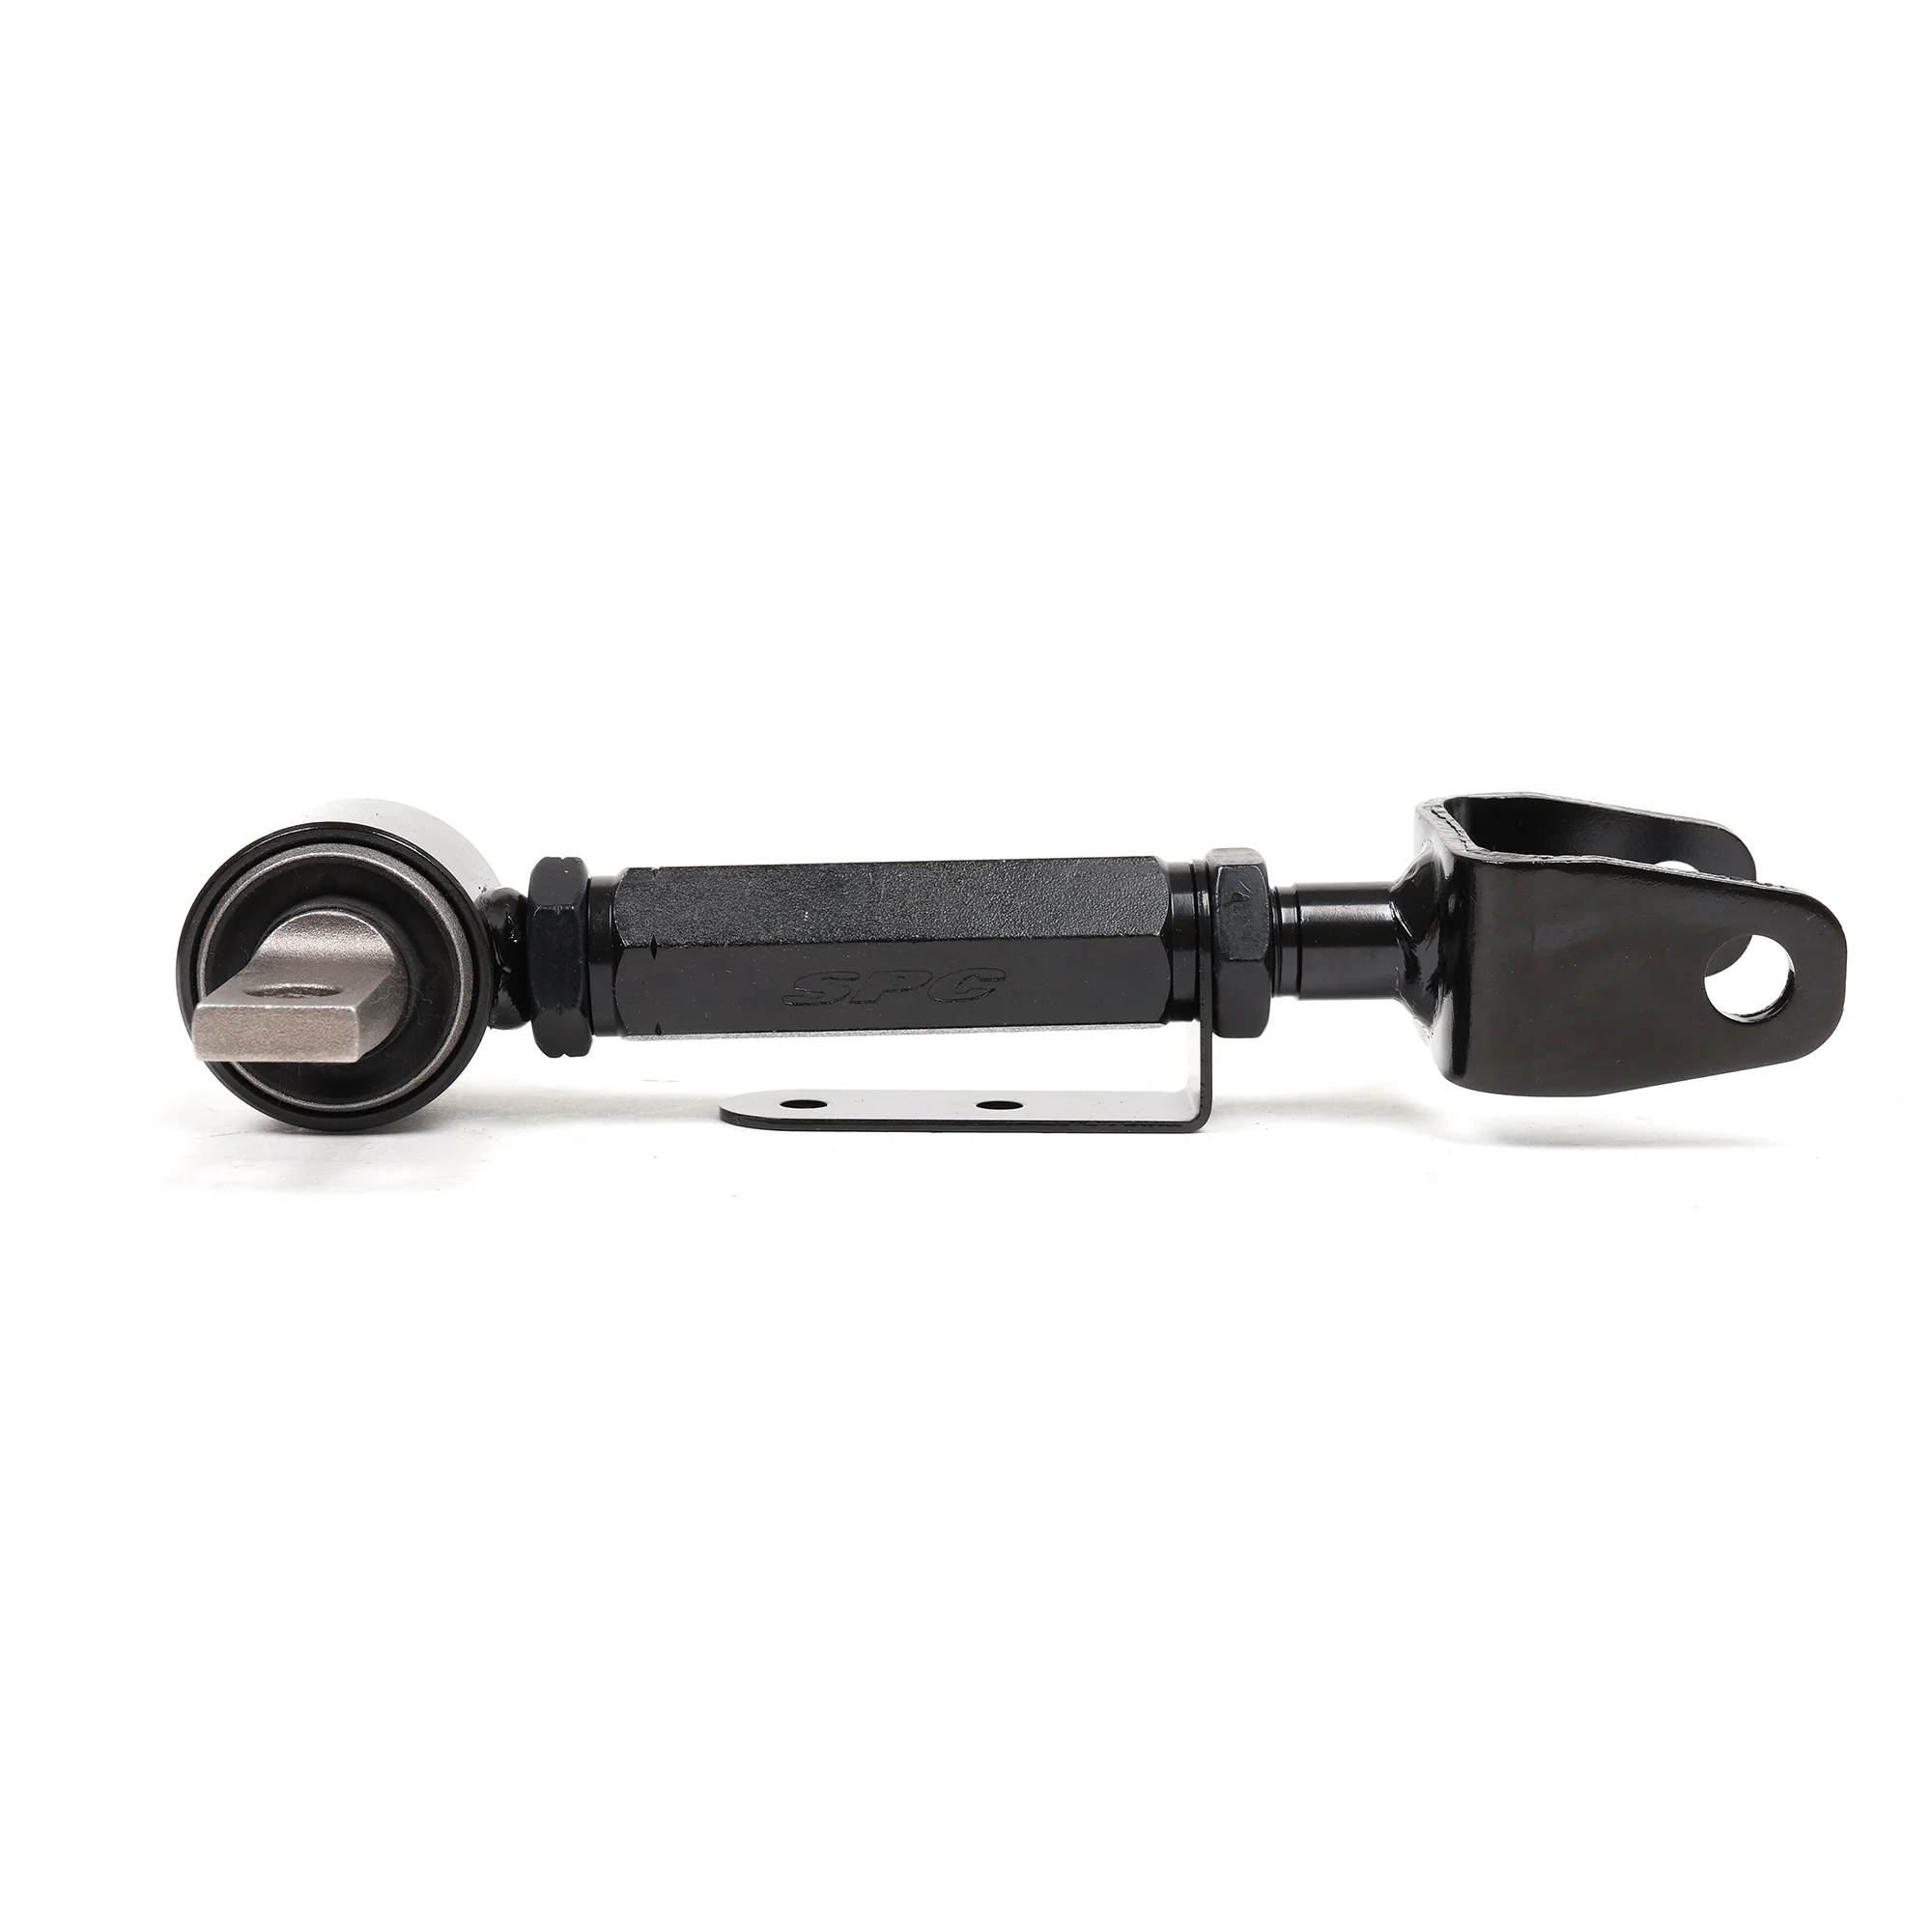
Eibach Pro-Alignment Rear Camber Kit - RSX / 7th Gen Civic
You lowered your RSX or 7th gen Civic and now you're burning through the inside edge of your rear tires in 10,000 miles. The rear camber's sitting at -2.5 or -3.0 degrees and there's nothing you can adjust because Honda didn't put any camber adjustment in the rear suspension from the factory. You can adjust rear toe but camber's locked in by the suspension geometry. Drop the car 1.5 to 2 inches on springs or coilovers and you're picking up an extra -1.5 to -2.0 degrees of negative camber. Stock camber's around -0.75 degrees which is fine. At -2.5 to -3.0 degrees, the inside edge of your rear tires is getting destroyed and the car's handling feels unstable because the rear end's got way more grip than the front. Eibach's Pro-Alignment kit replaces your non-adjustable upper rear control arm with an adjustable arm that gives you +6.0 to -4.0 degrees of camber adjustment. That's enough range to fix a slammed car or dial in an aggressive track setup.
Here's Why You Can't Adjust Rear Camber from the Factory
The DC5 RSX and 7th gen Civic (EM2/ES/EP3) use a double wishbone rear suspension. Honda designed the rear suspension with fixed-length upper and lower control arms. You can adjust toe because there's an eccentric bolt on the lower arm. Camber? There's no adjustment. The camber angle's determined by the length of the arms and the mounting points. When you lower the car, the suspension geometry changes. The wheels tuck further into the fenders and the camber goes negative. Every inch you drop adds roughly -0.75 to -1.0 degrees of negative camber. A mild drop on lowering springs puts you at -1.5 to -2.0 degrees. An aggressive coilover drop can push you past -3.0 degrees. At that point you're wearing out tires fast and the car doesn't handle right because the rear's gripping way harder than the front.
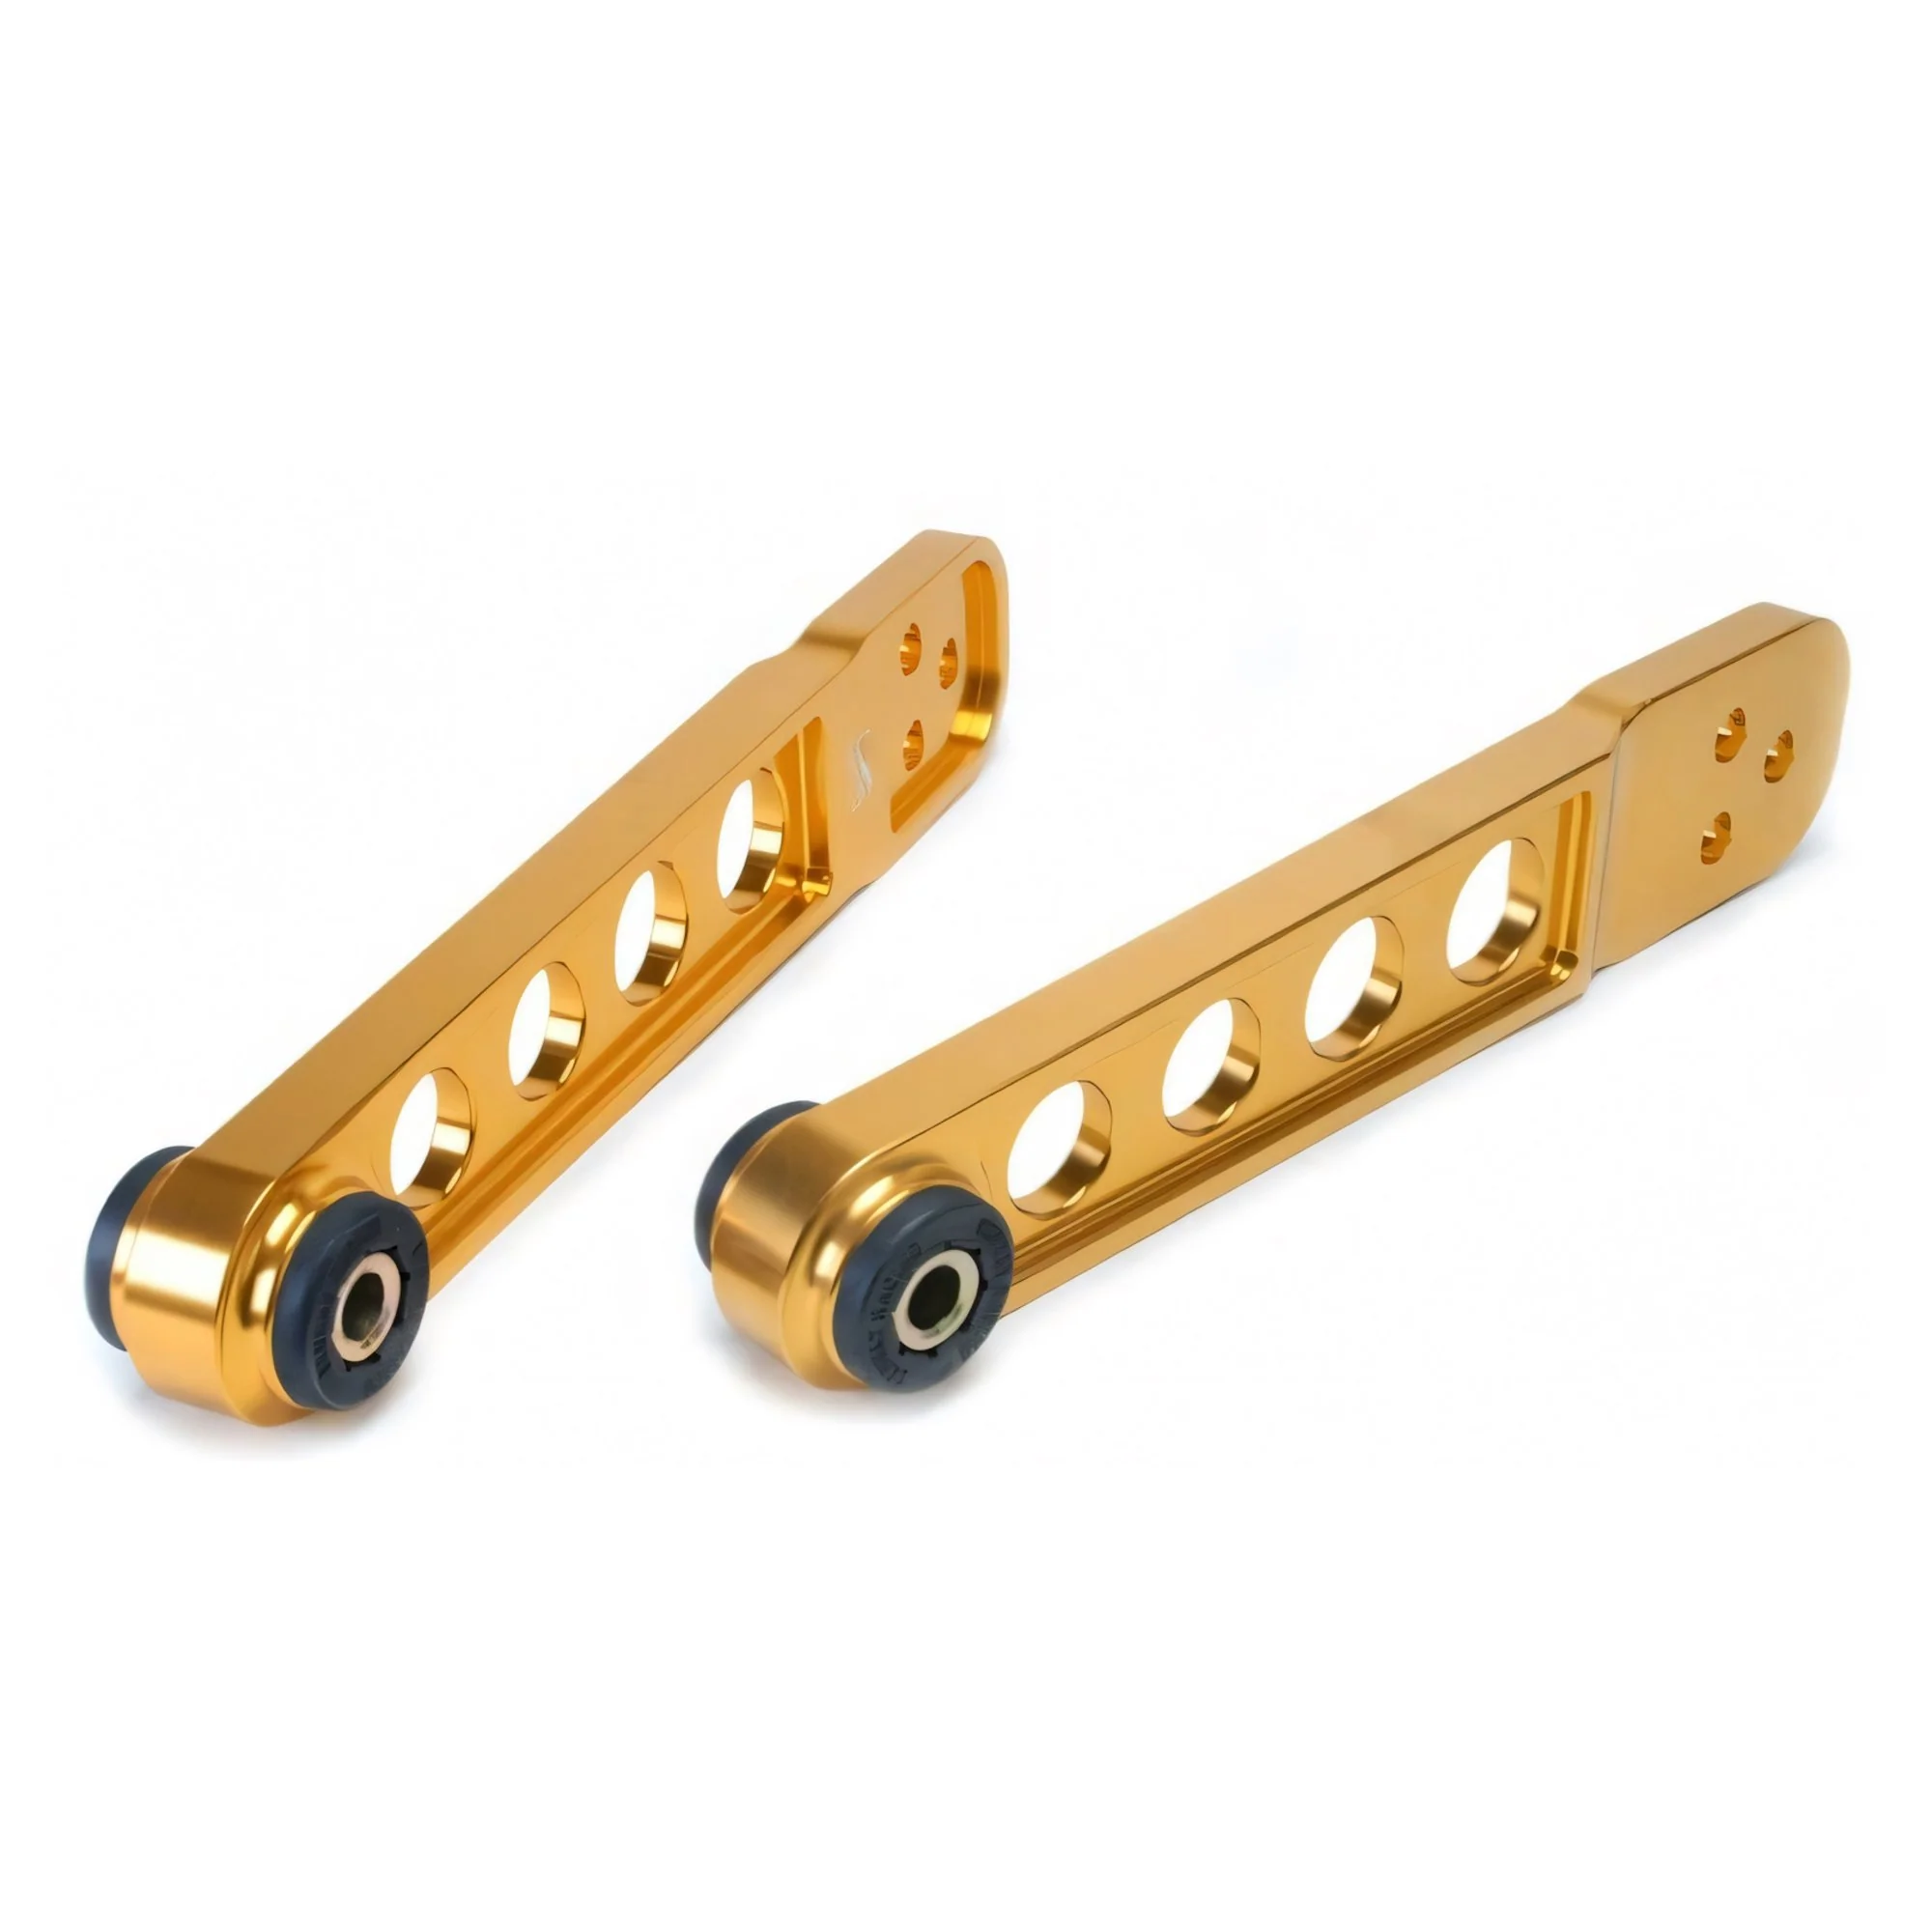
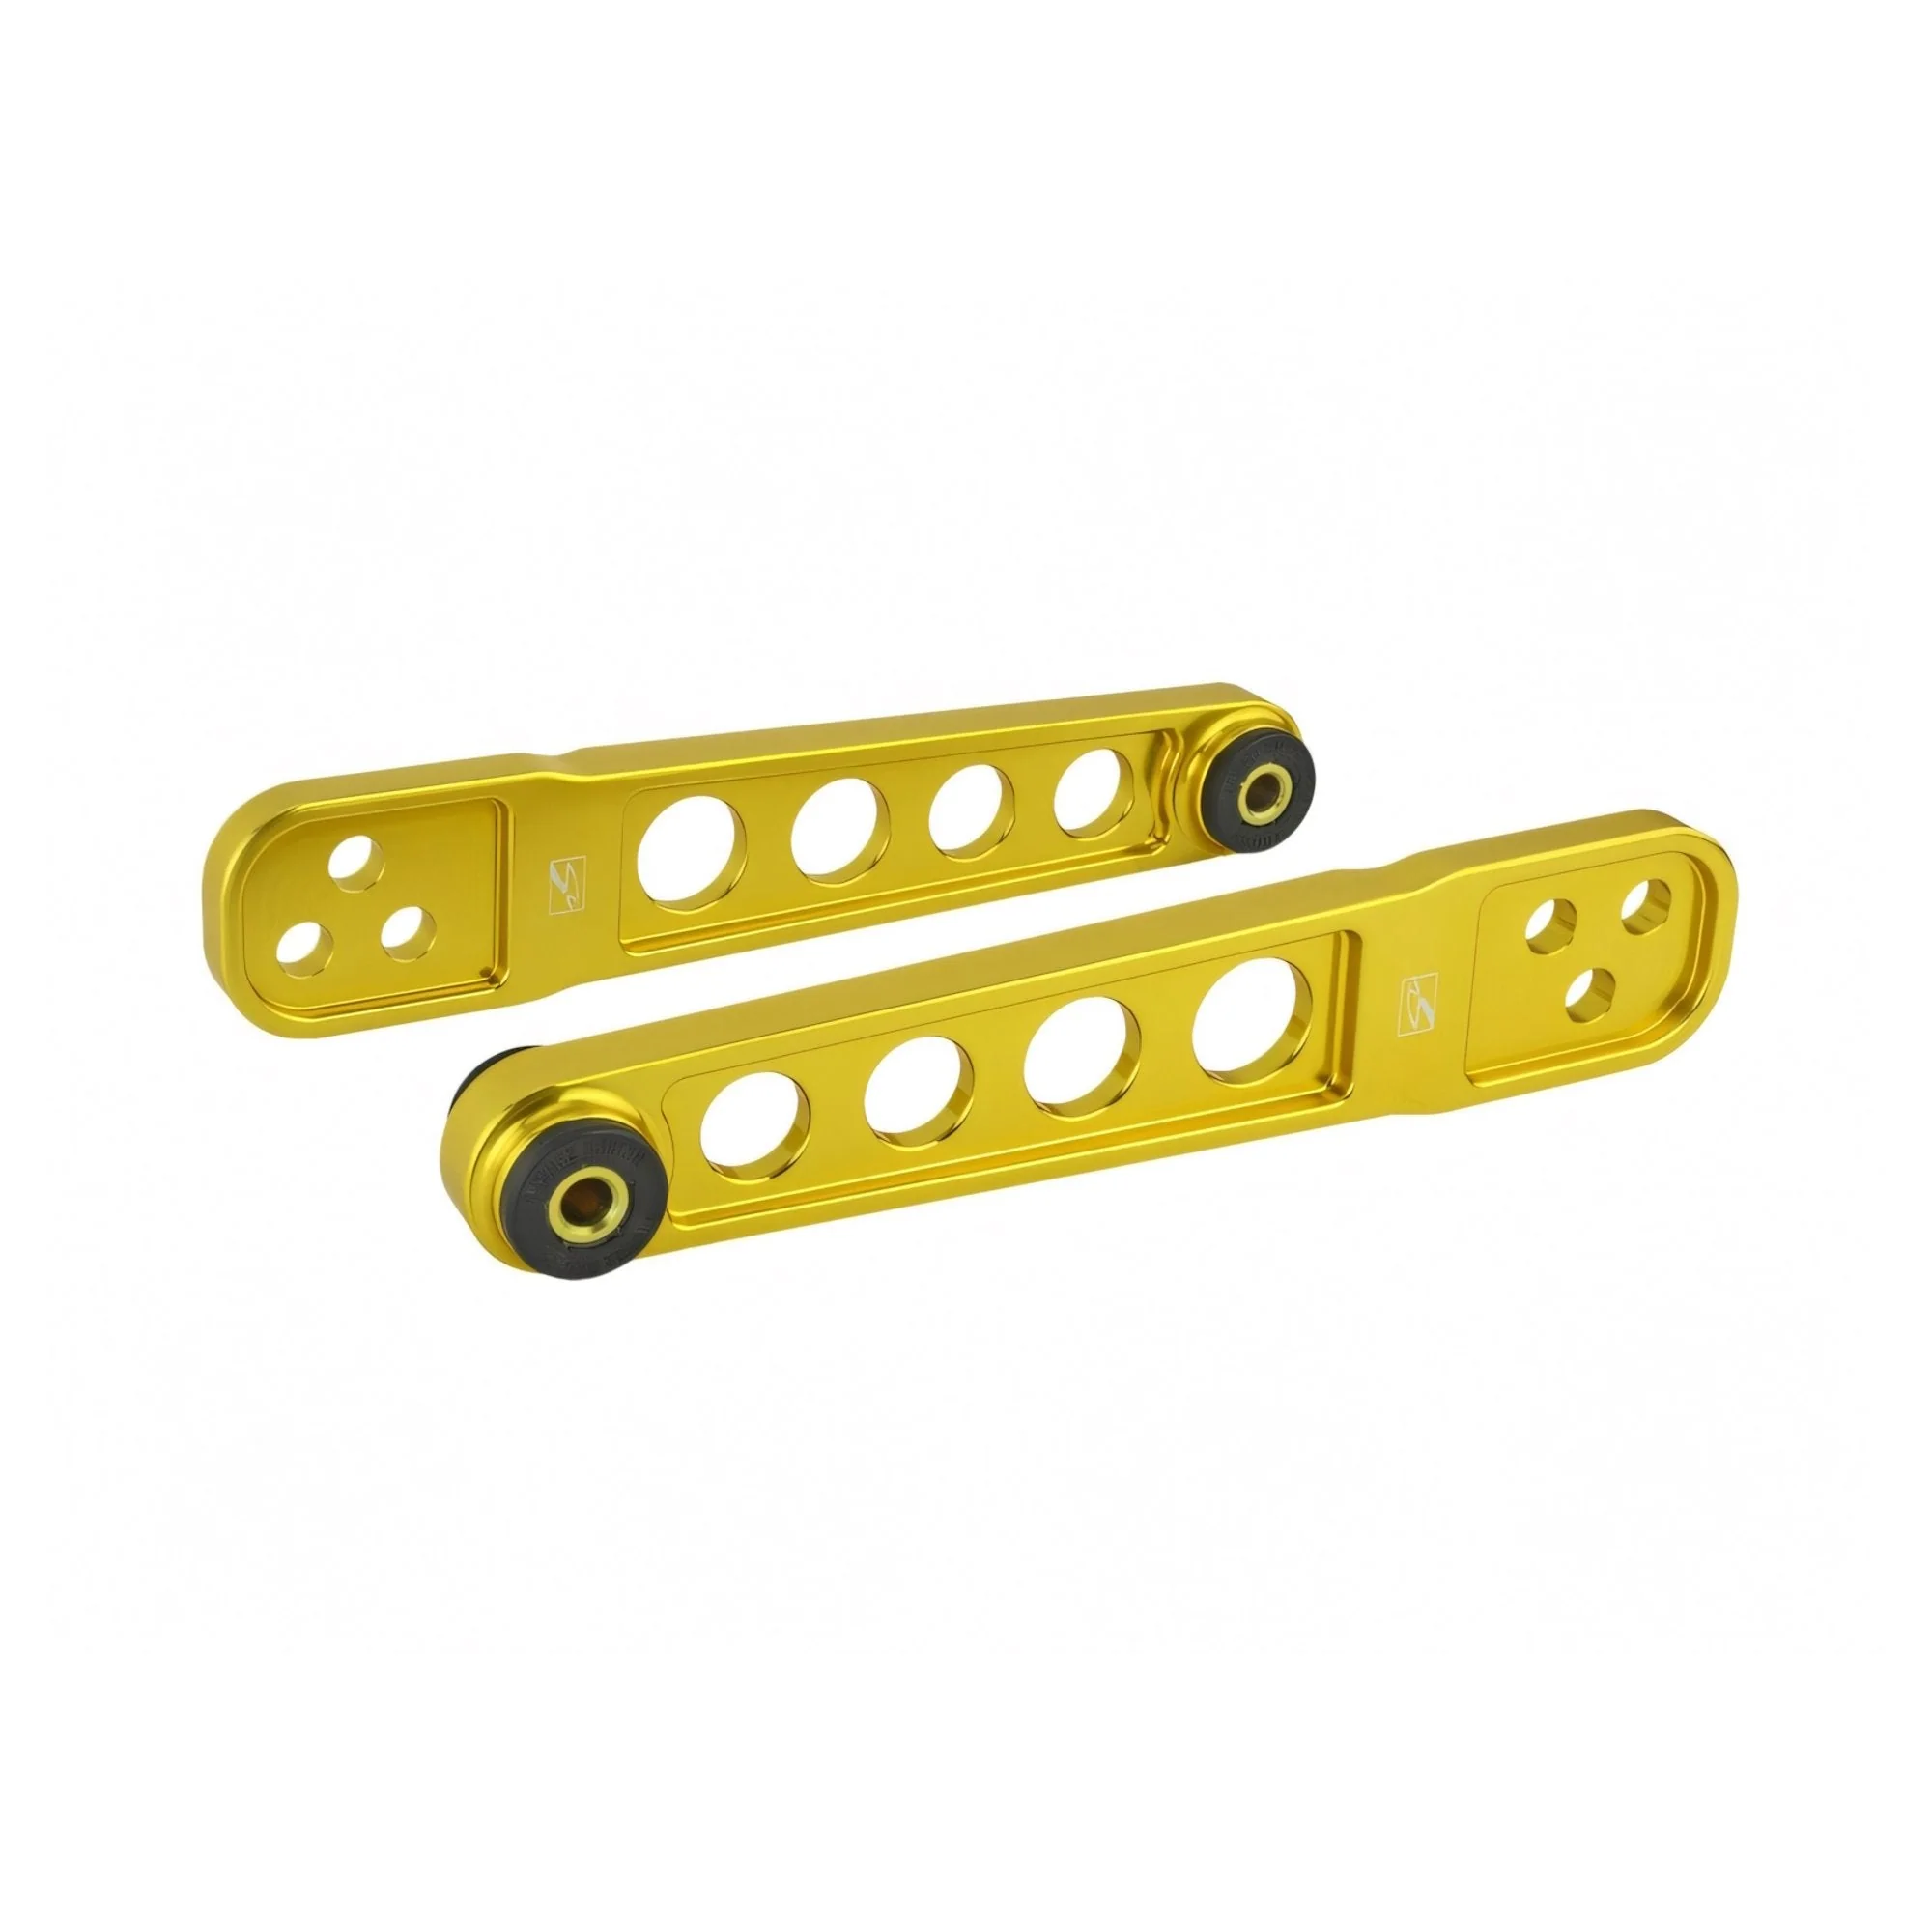
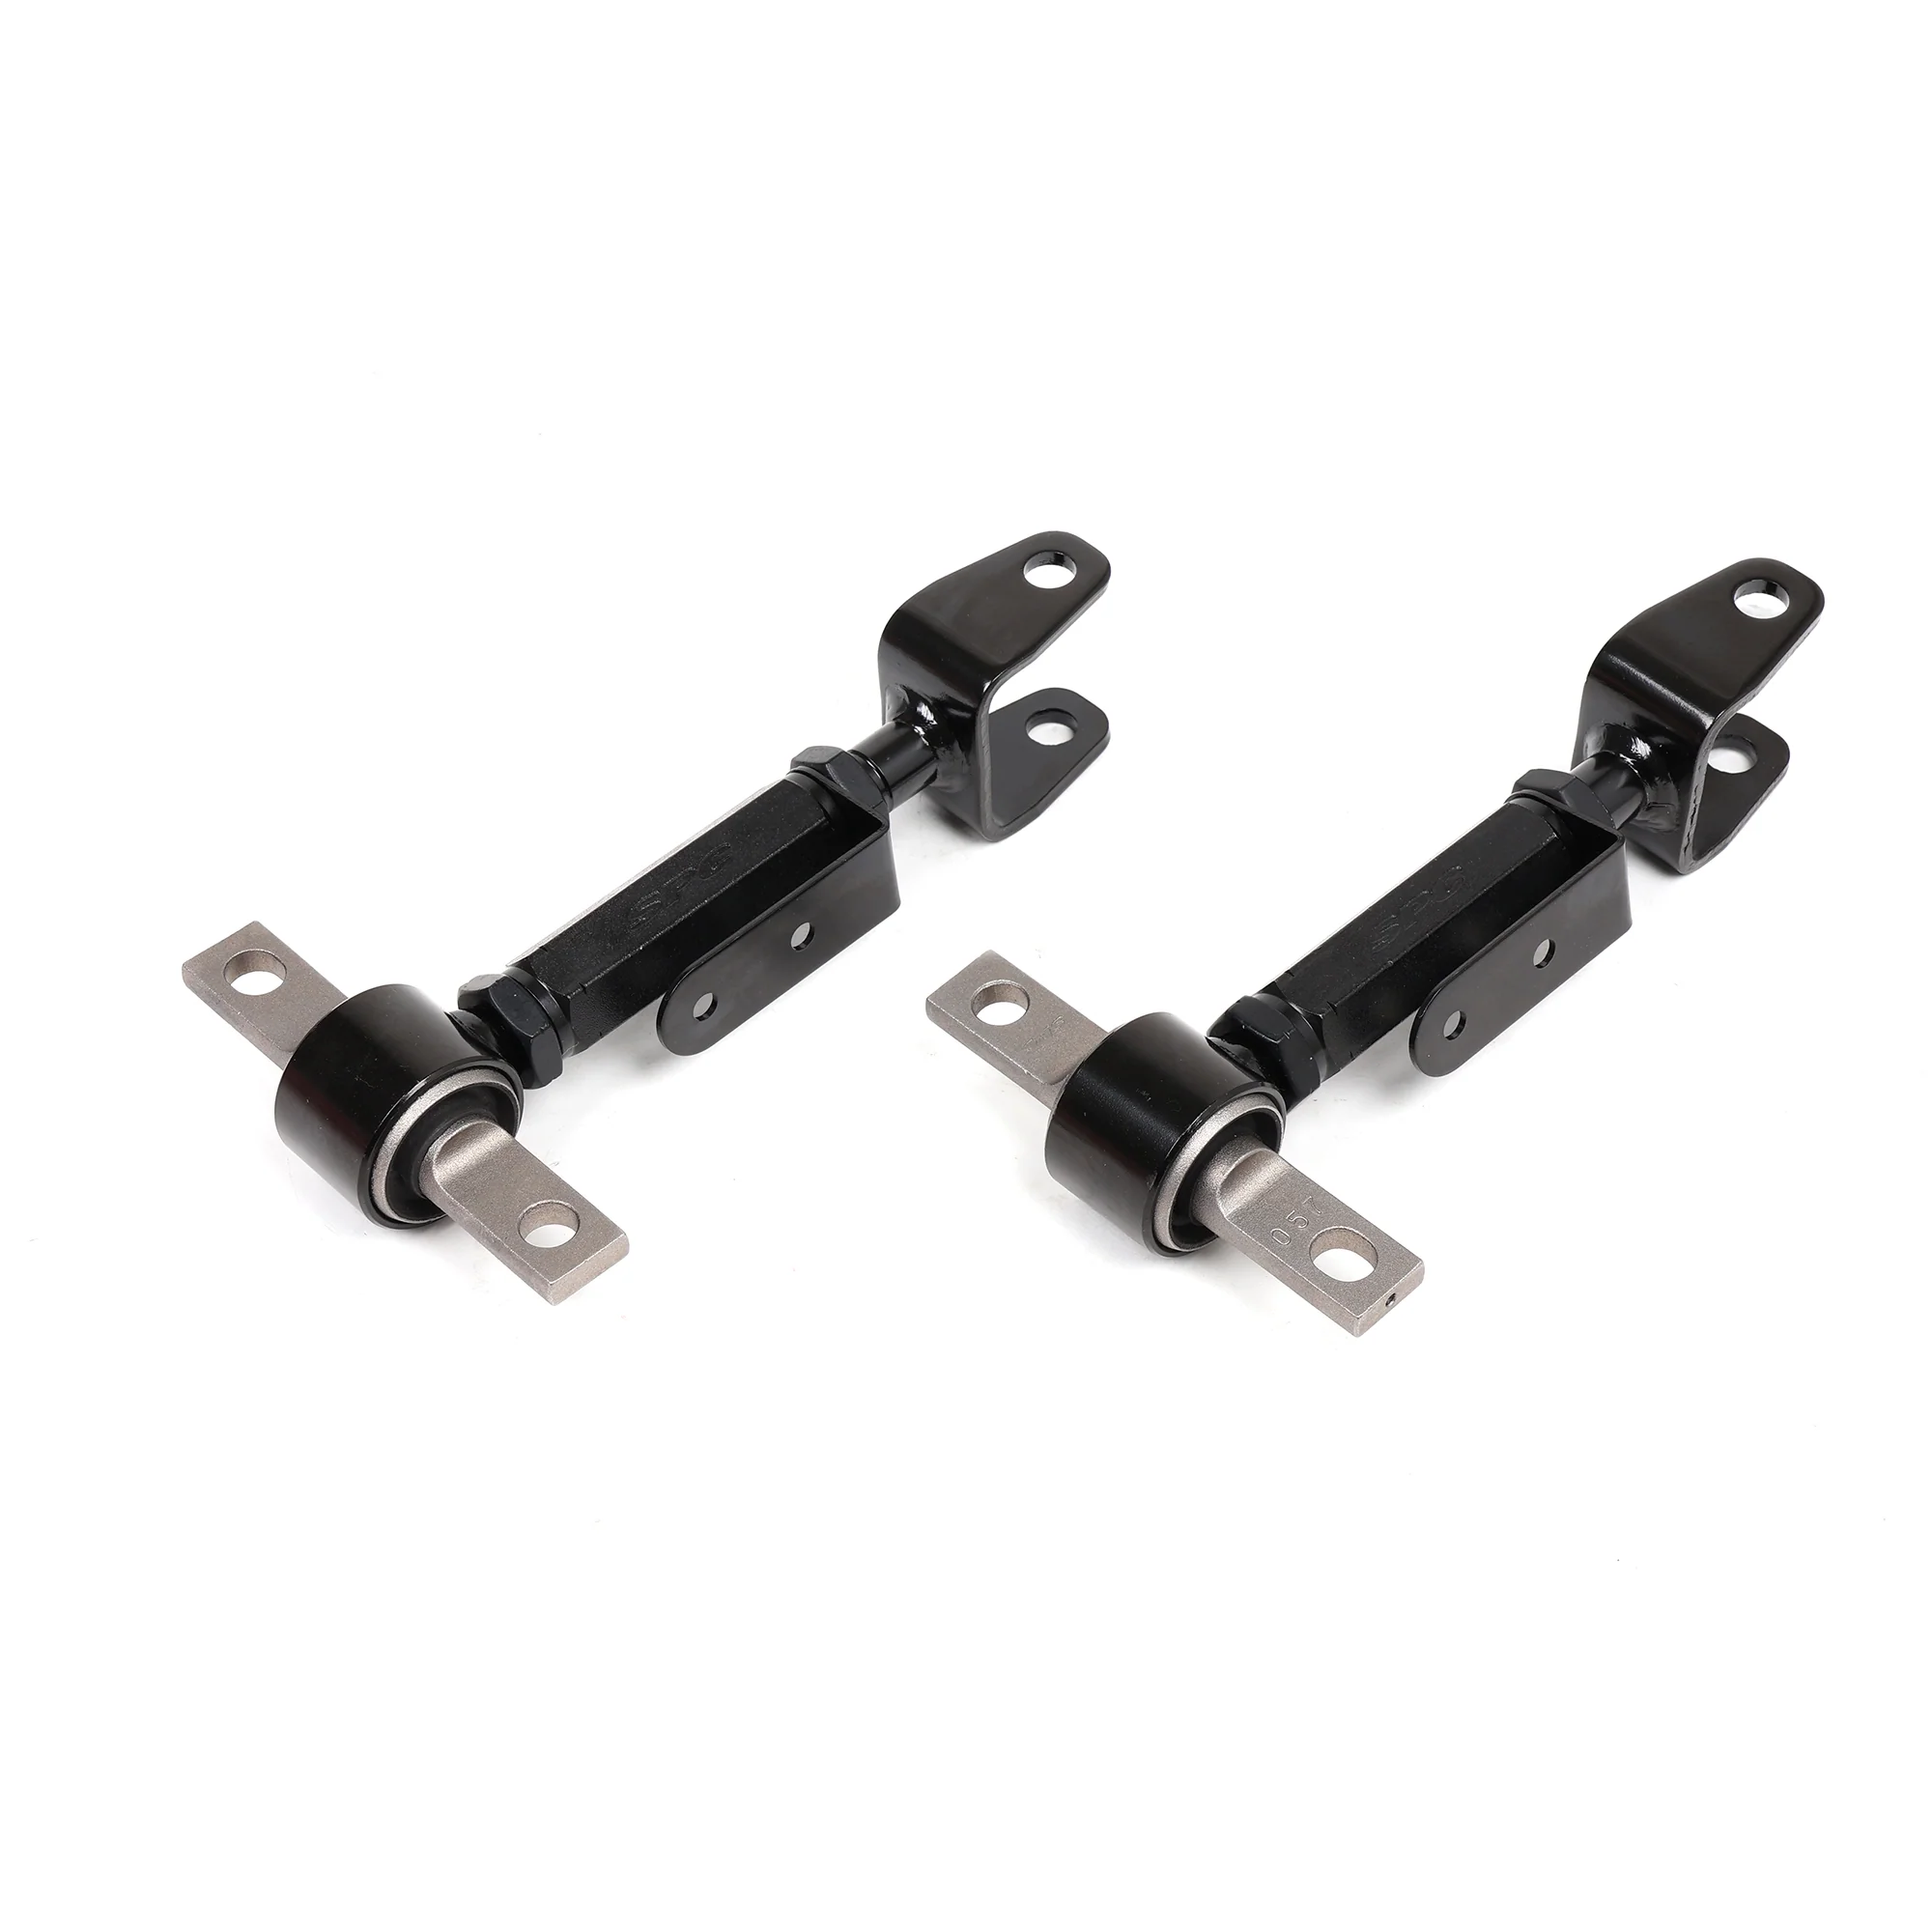
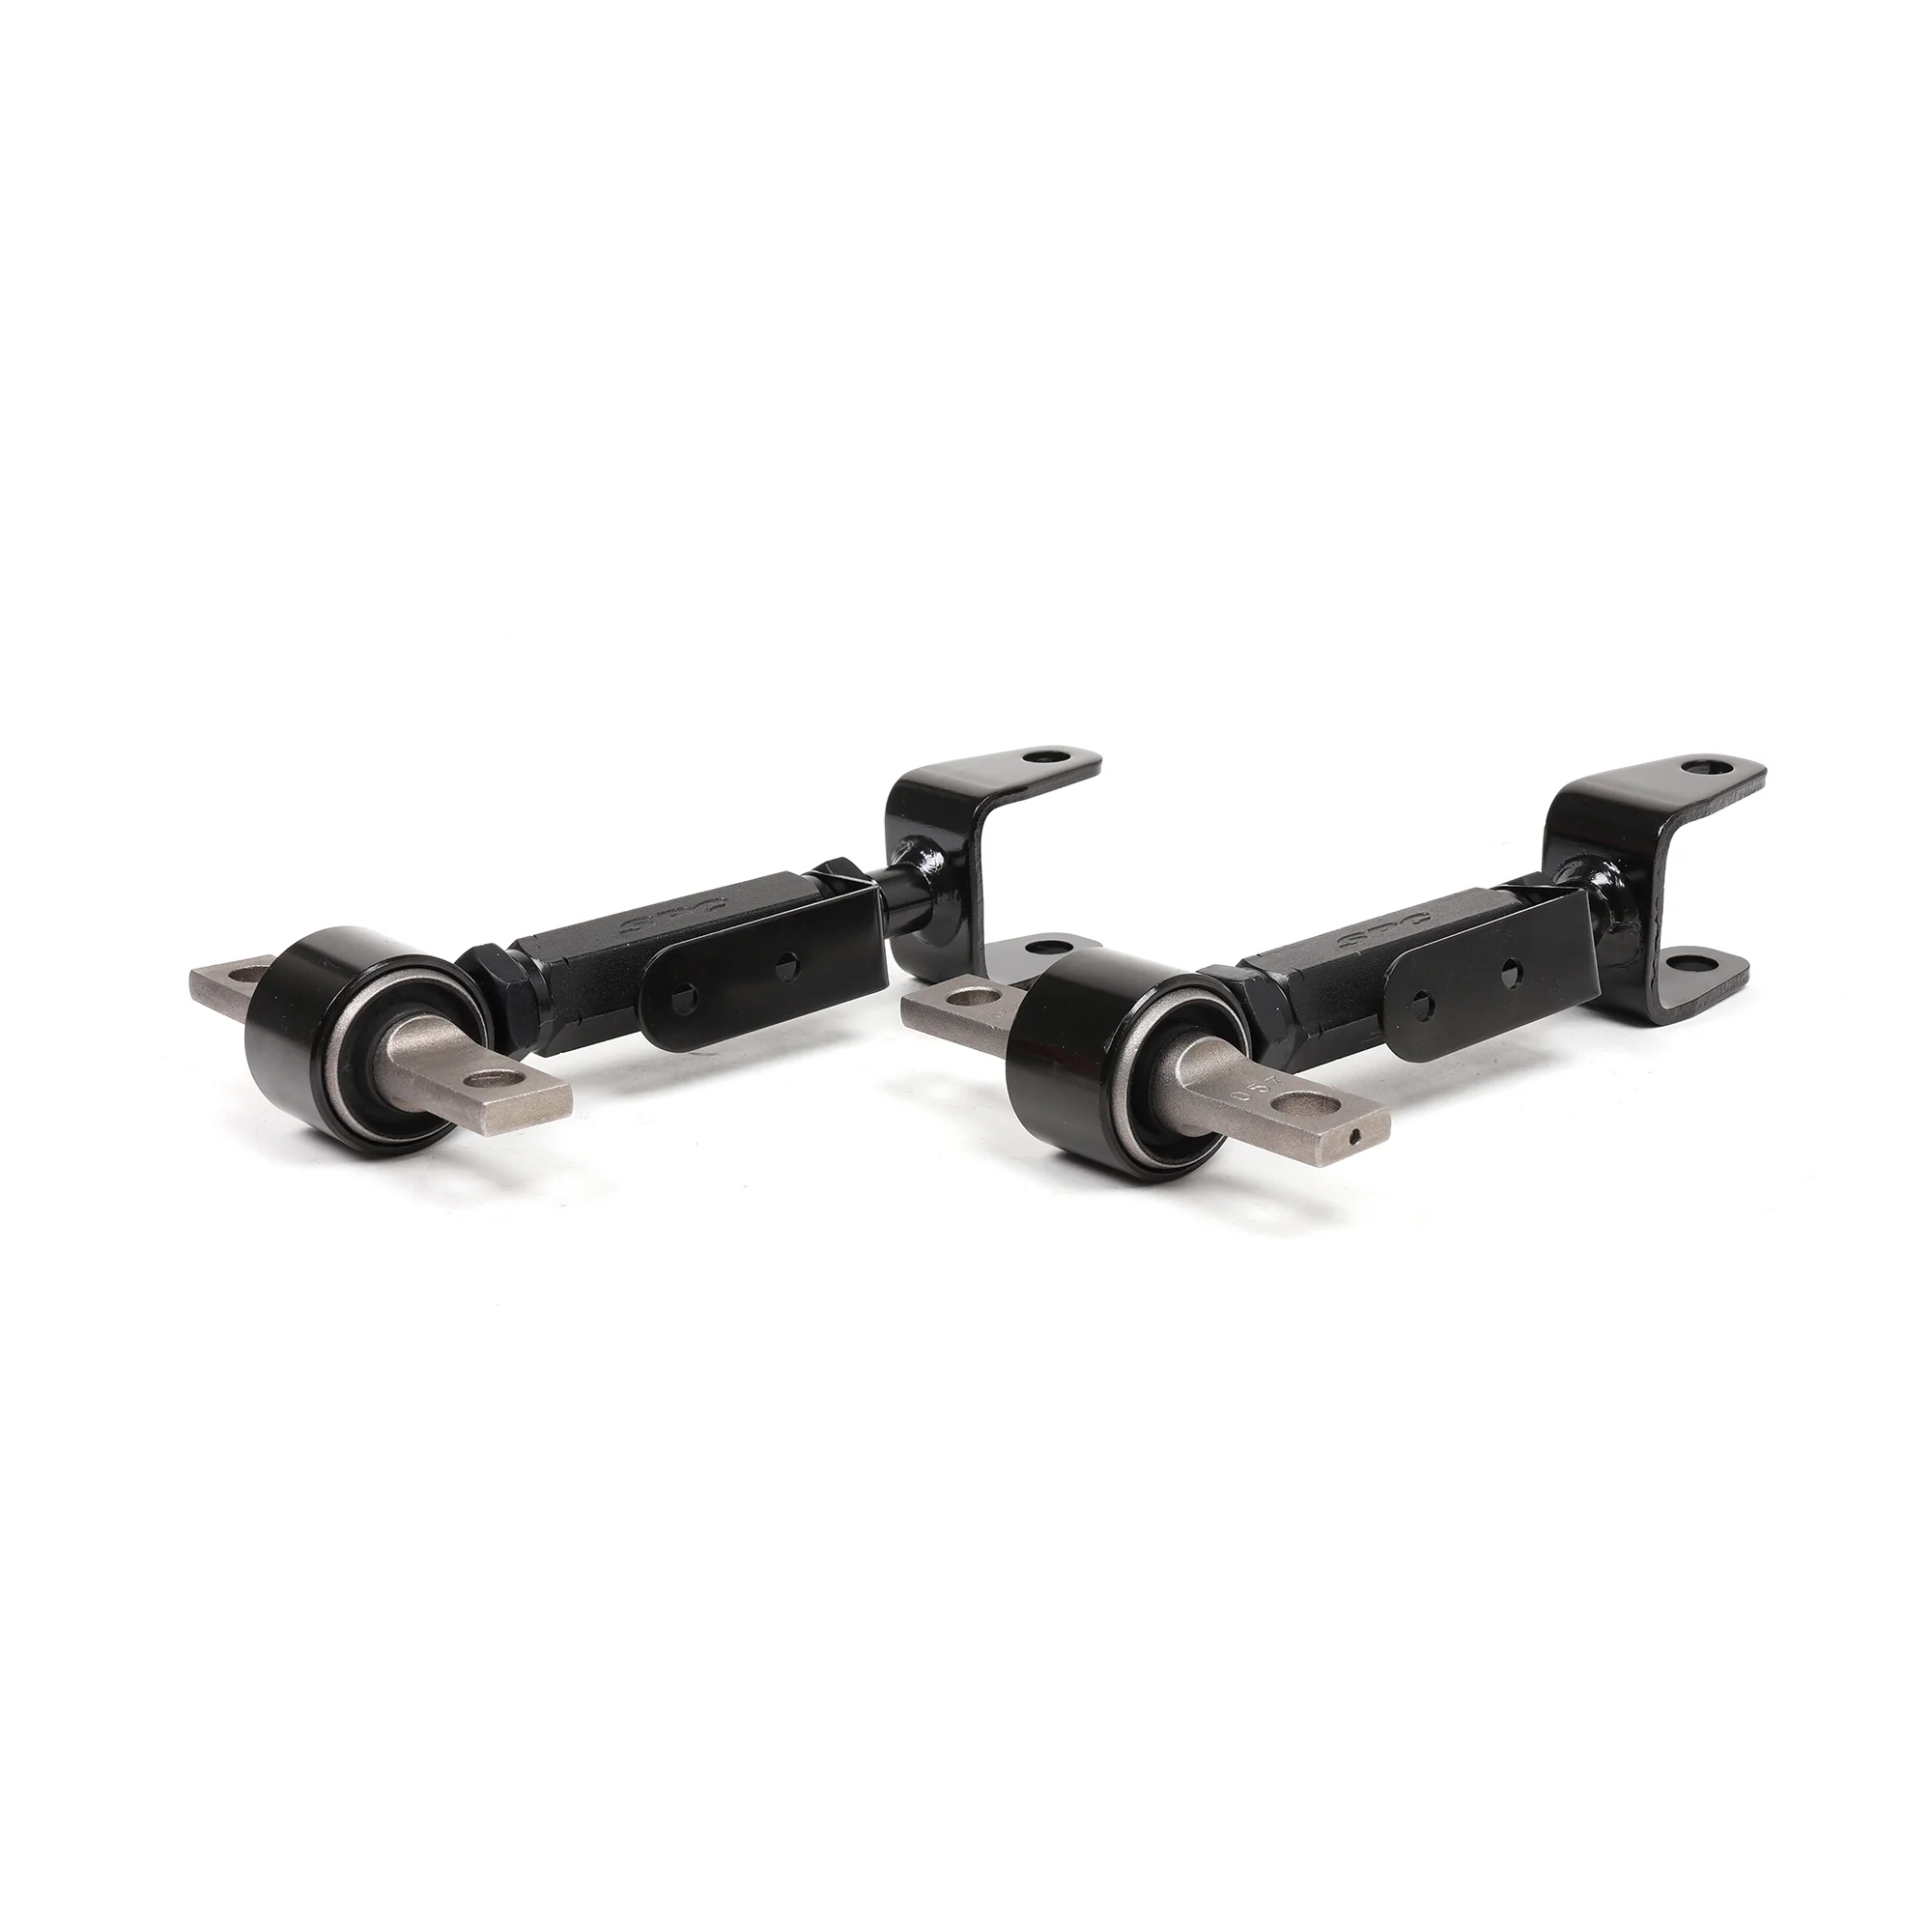
Upper Arm vs. Lower Arm Kits
There are two ways to adjust rear camber on these cars. You can replace the upper control arm with an adjustable unit (this kit) or you can replace the lower control arm with an adjustable unit (Ingalls-style kits). The upper arm approach is cleaner. When you adjust the upper arm, you're only changing camber. Toe stays where it is. With lower arm kits, adjusting camber also changes toe at the same time. That means you're chasing two variables on the alignment rack instead of one. Adjust the lower arm for camber, then you have to readjust toe, then the camber changes a bit when you set toe, and you're going back and forth. The upper arm keeps it simple. Set your camber, then set your toe independently. You're done faster and the alignment's easier to dial in.
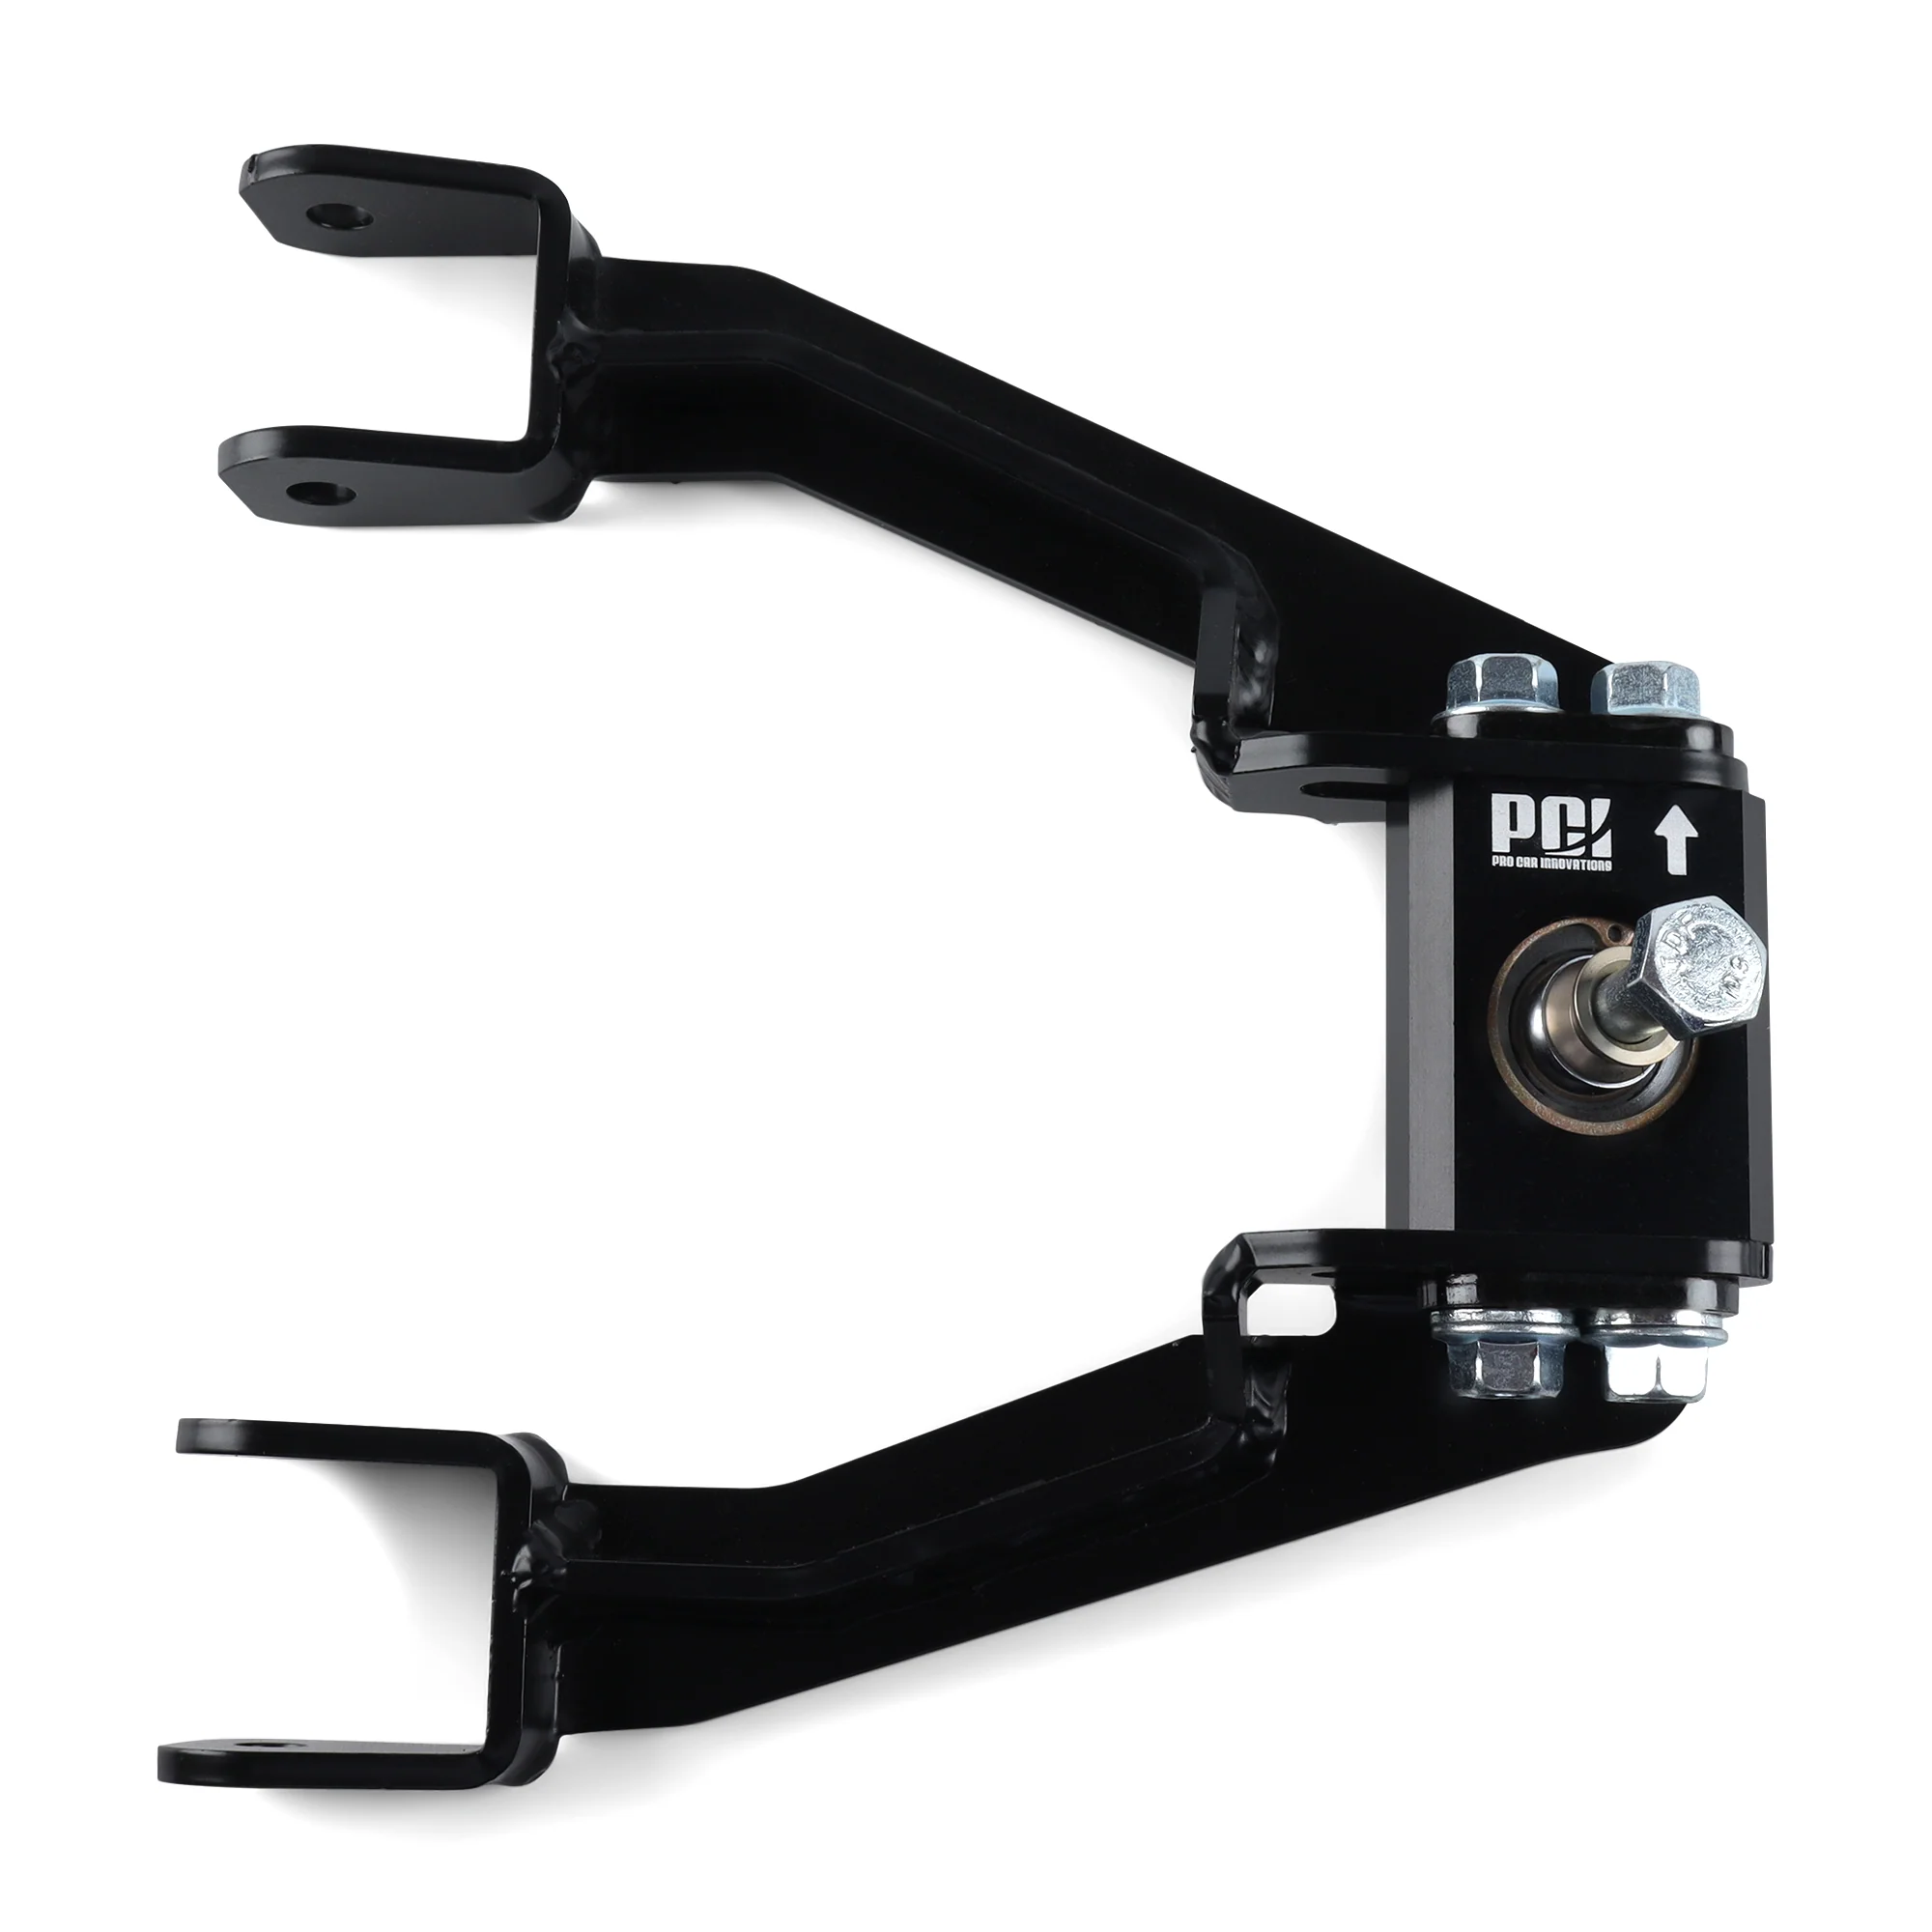
Installation's Straightforward
This job takes about 40 minutes per side with basic hand tools. You're pulling two 17mm bolts to remove the stock upper arm and bolting the Eibach adjustable arm in. Here's the critical part: torque the arm bolts to 43 lb-ft with the suspension loaded. That means the car's sitting on the ground with weight on the suspension, not up on jack stands with the wheels hanging. If you torque the bushings with the suspension unloaded, the bushings are pre-twisted. When you lower the car and load the suspension, the bushings twist even more and they wear out early. Set the car on the ground, torque the bolts, then you're good.
You Need an Alignment After Installation
Don't skip the alignment. When you pull the upper arm and install the adjustable arm, your rear toe's going to shift slightly even if you're careful. Even a little bit of rear toe-out will eat your tires way faster than camber. Get the car to an alignment shop that's comfortable working on lowered cars. Some chain shops won't touch aftermarket suspension components so call ahead and ask before you book. Tell the tech you've installed adjustable rear camber arms and you need a four-wheel alignment. For a daily driver on lowering springs, most people target around -0.8 to -1.0 degrees in the rear. That's close to stock and it won't kill your tires. For track use, -1.2 to -1.8 degrees in the rear works well if you're also running aggressive front camber to keep the handling balance neutral.
What About Front Camber
If you lowered your RSX or Civic, you've probably got too much negative camber in the front too. The front suspension's a MacPherson strut design and it gains negative camber when you lower the car. Eibach makes a front camber bolt kit (part number 5.81280K) that gives you +/- 1.75 degrees of front camber adjustment. That's a separate kit. If you're doing a full suspension refresh and you want to control camber front and rear, grab both kits and do the alignment all at once.
What You Get
- Eibach Pro-Alignment rear camber kit (part number 5.67230K)
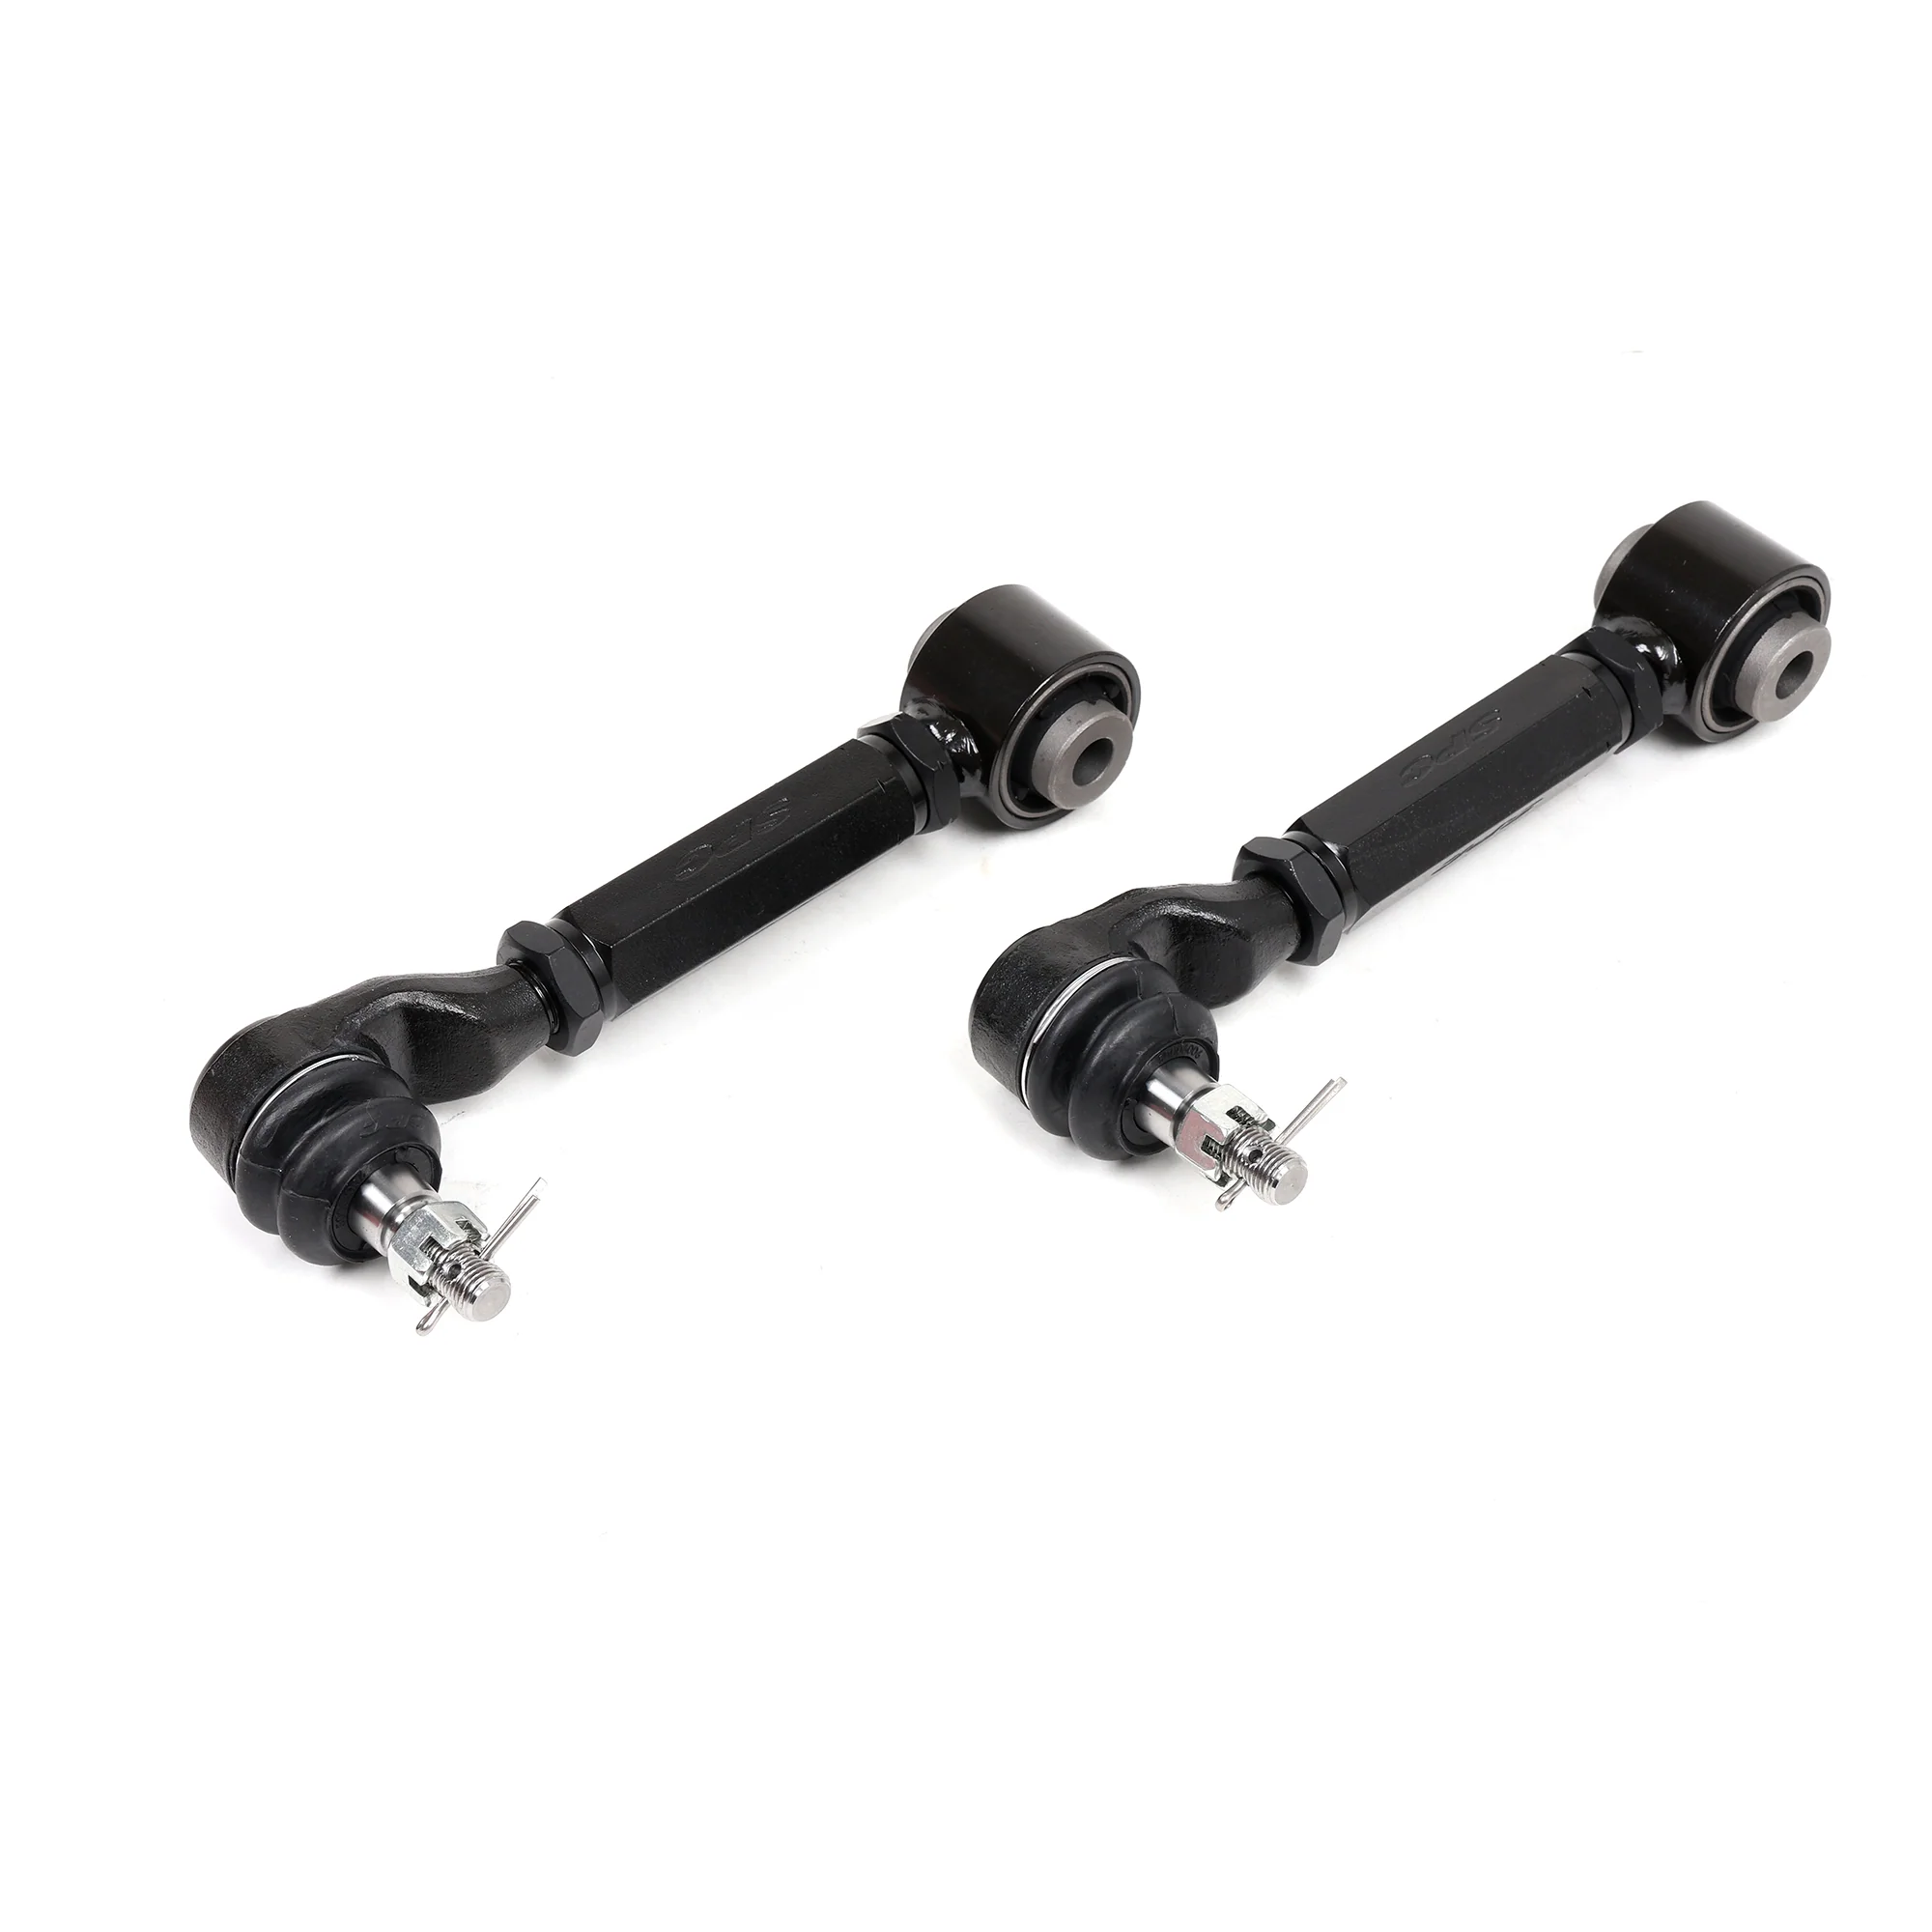
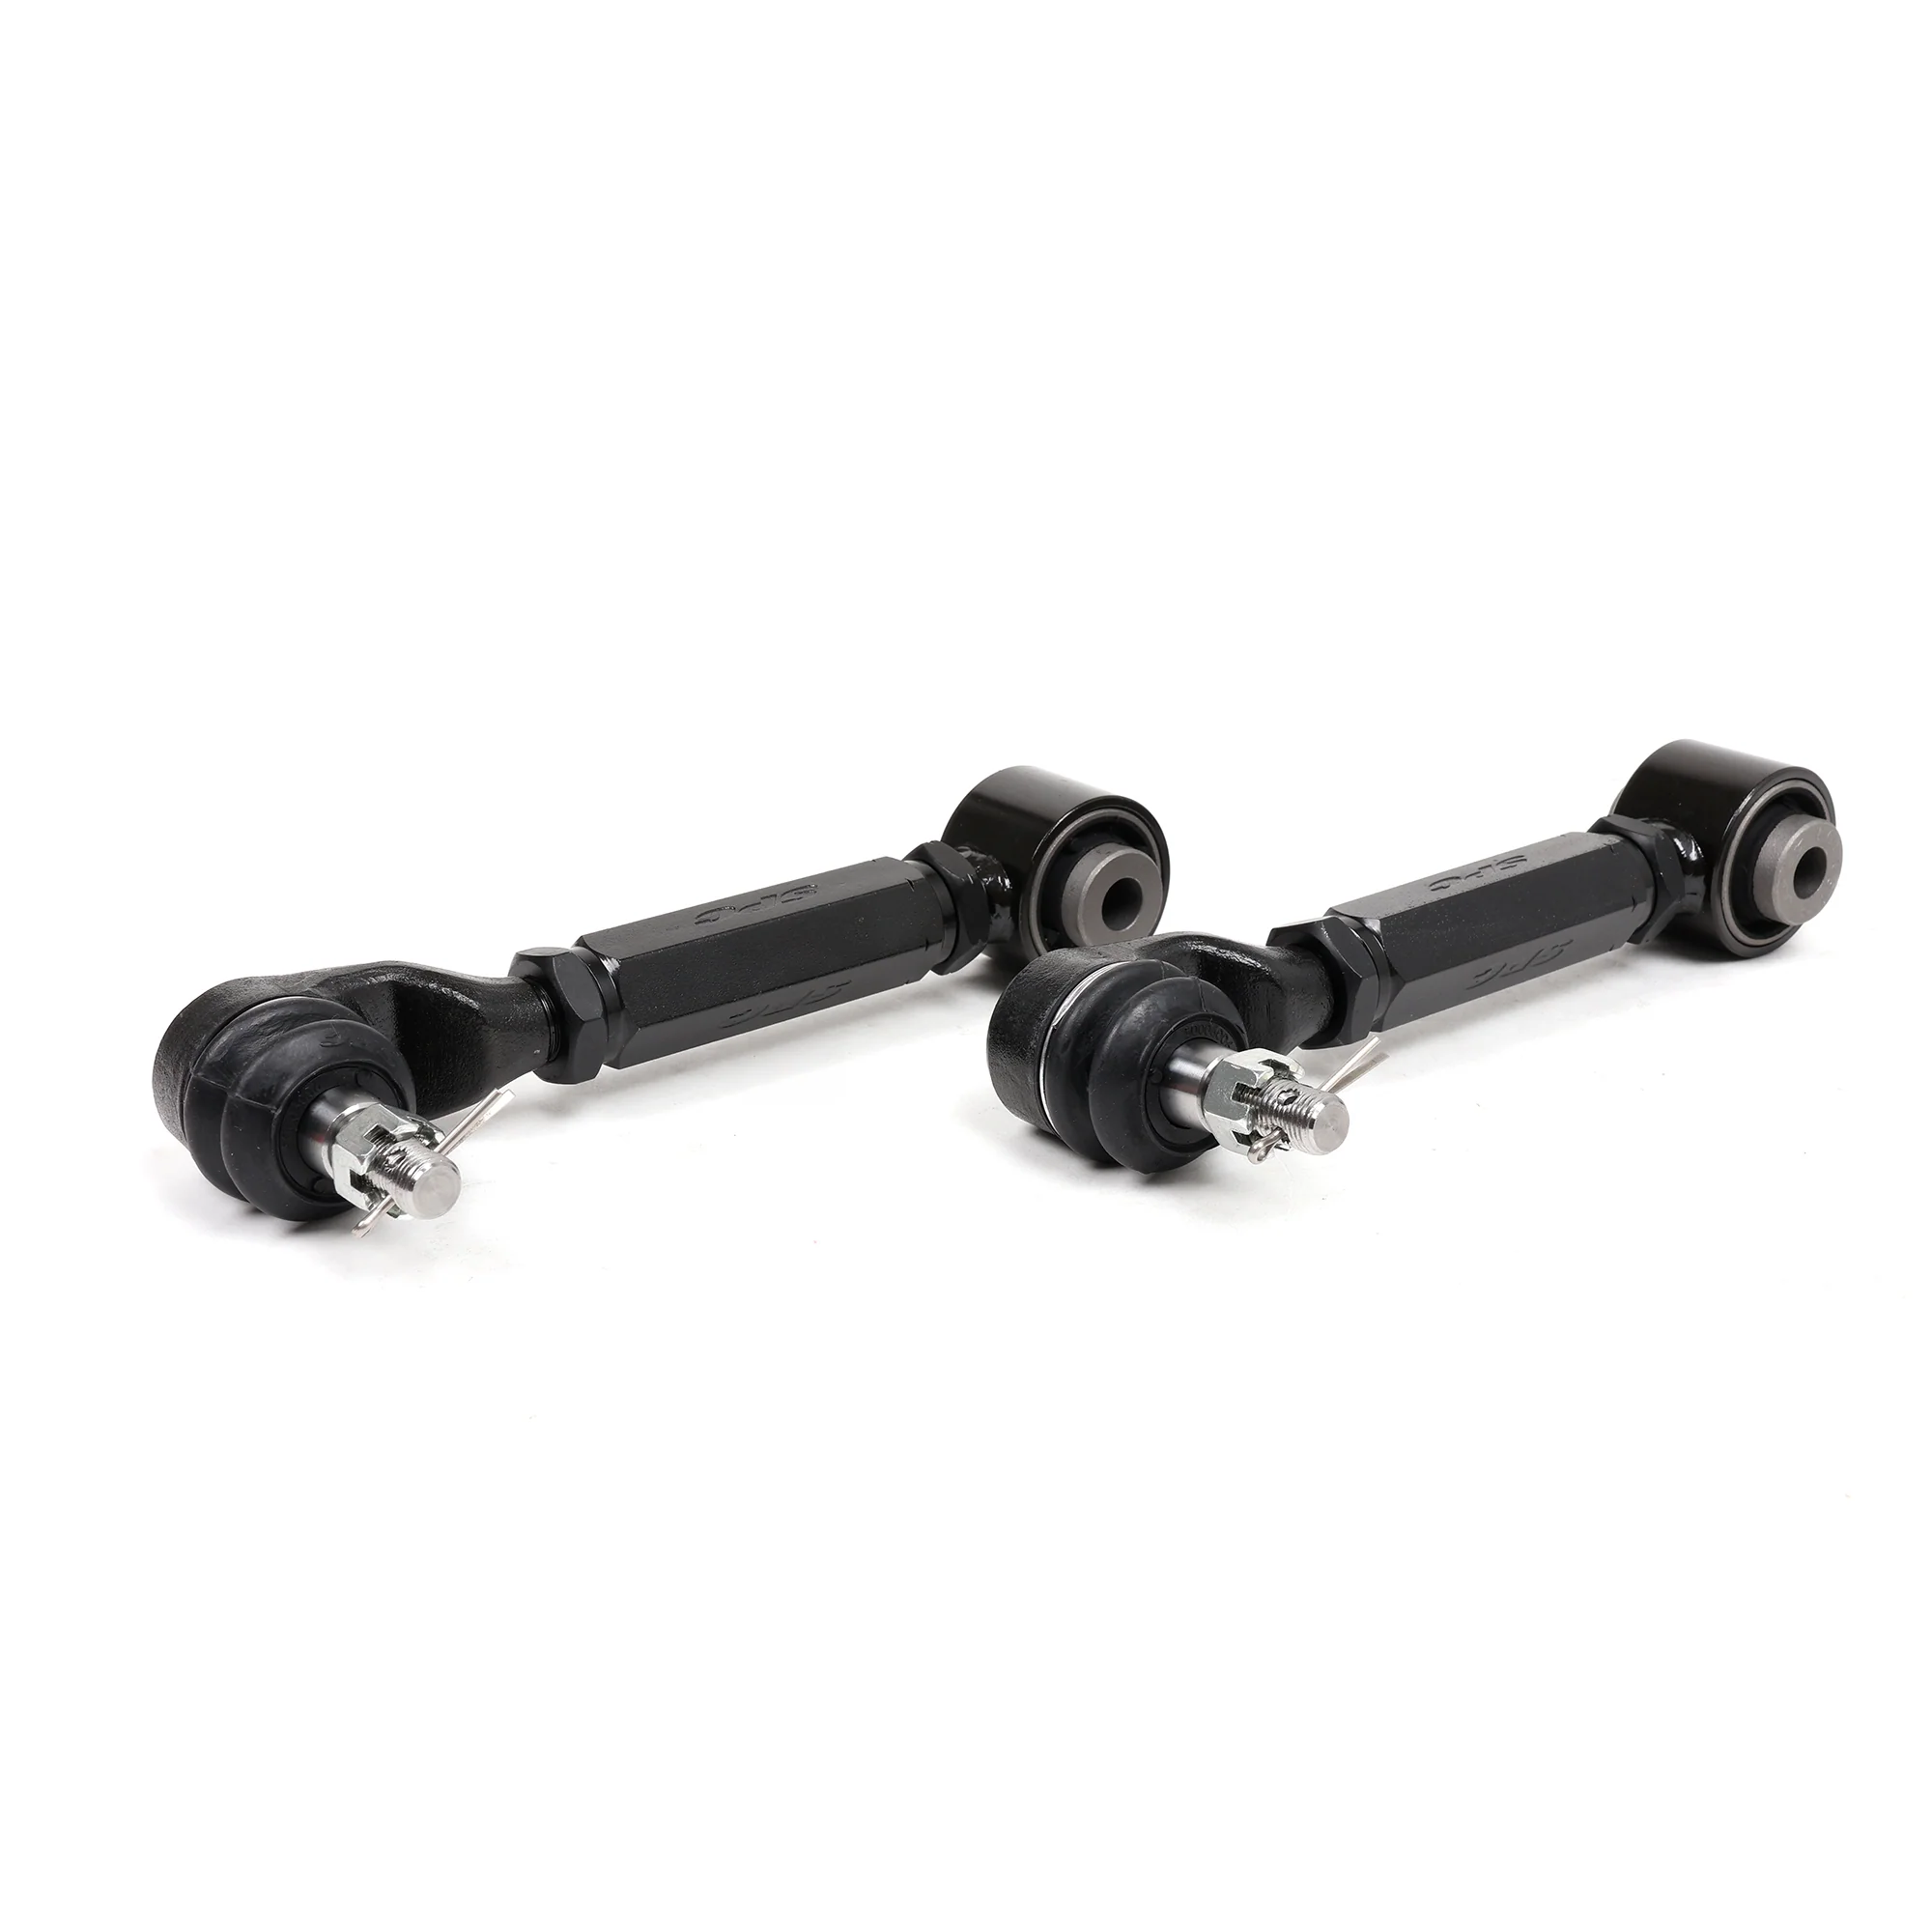
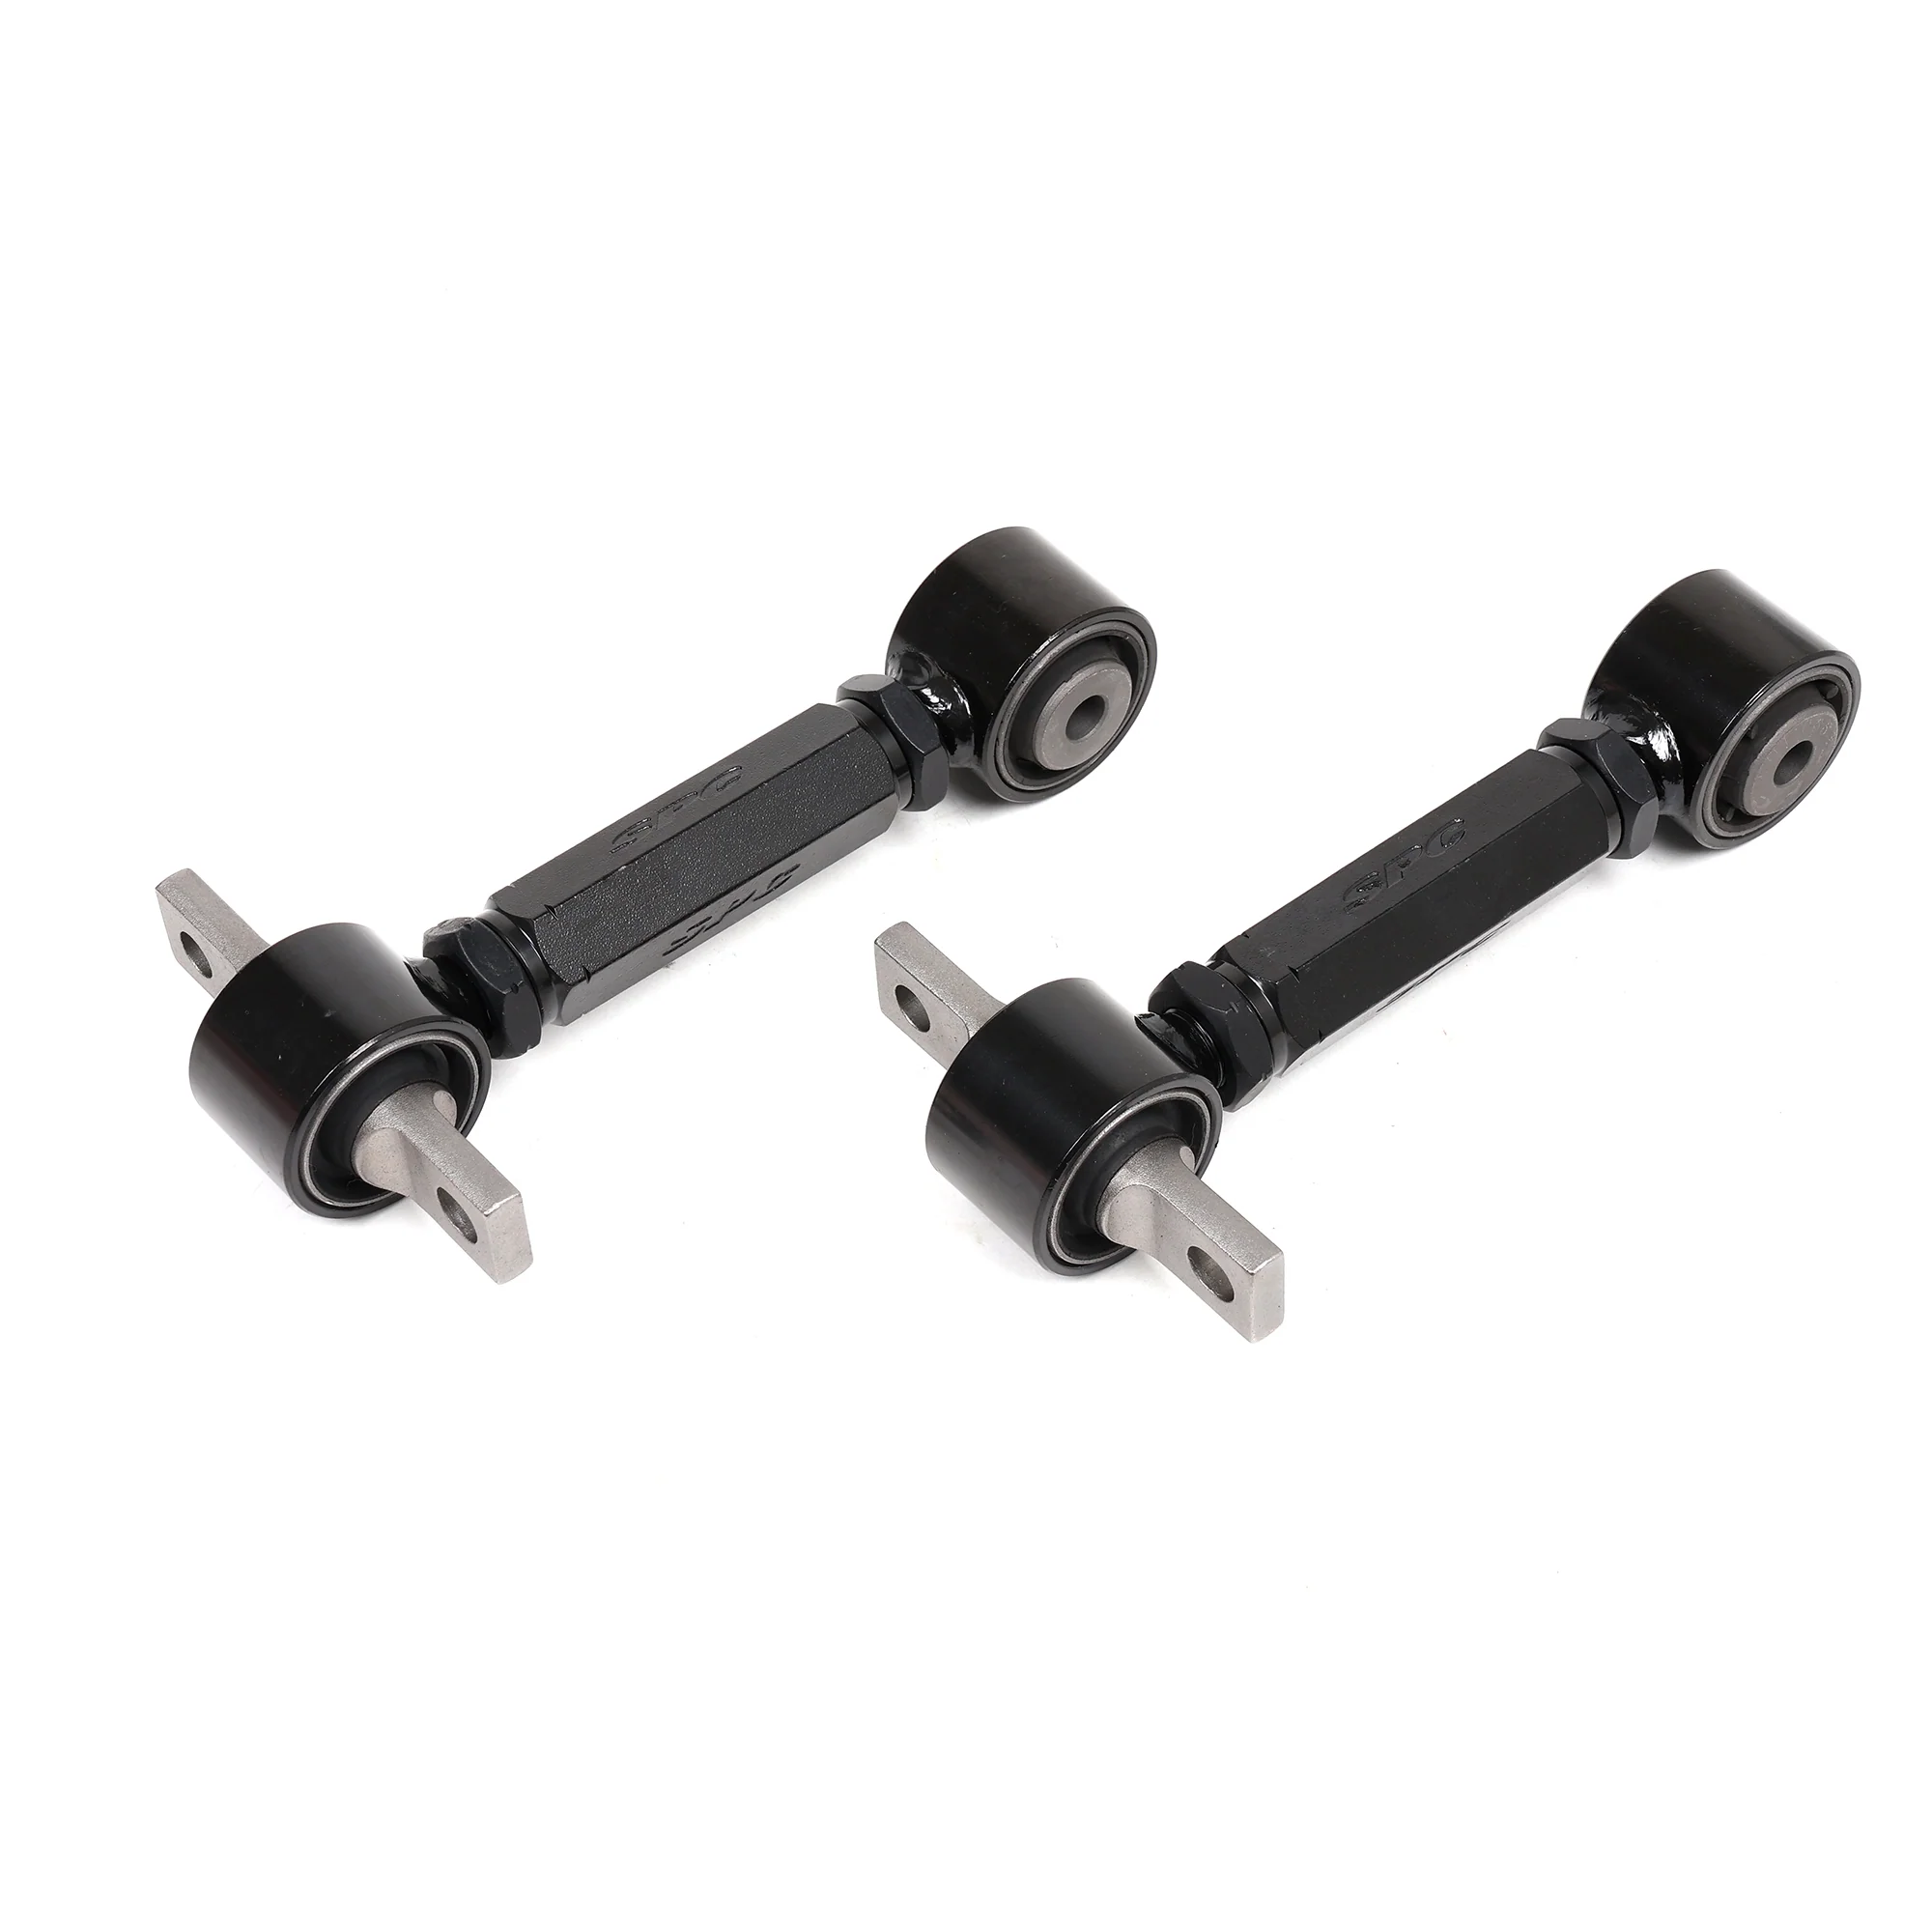
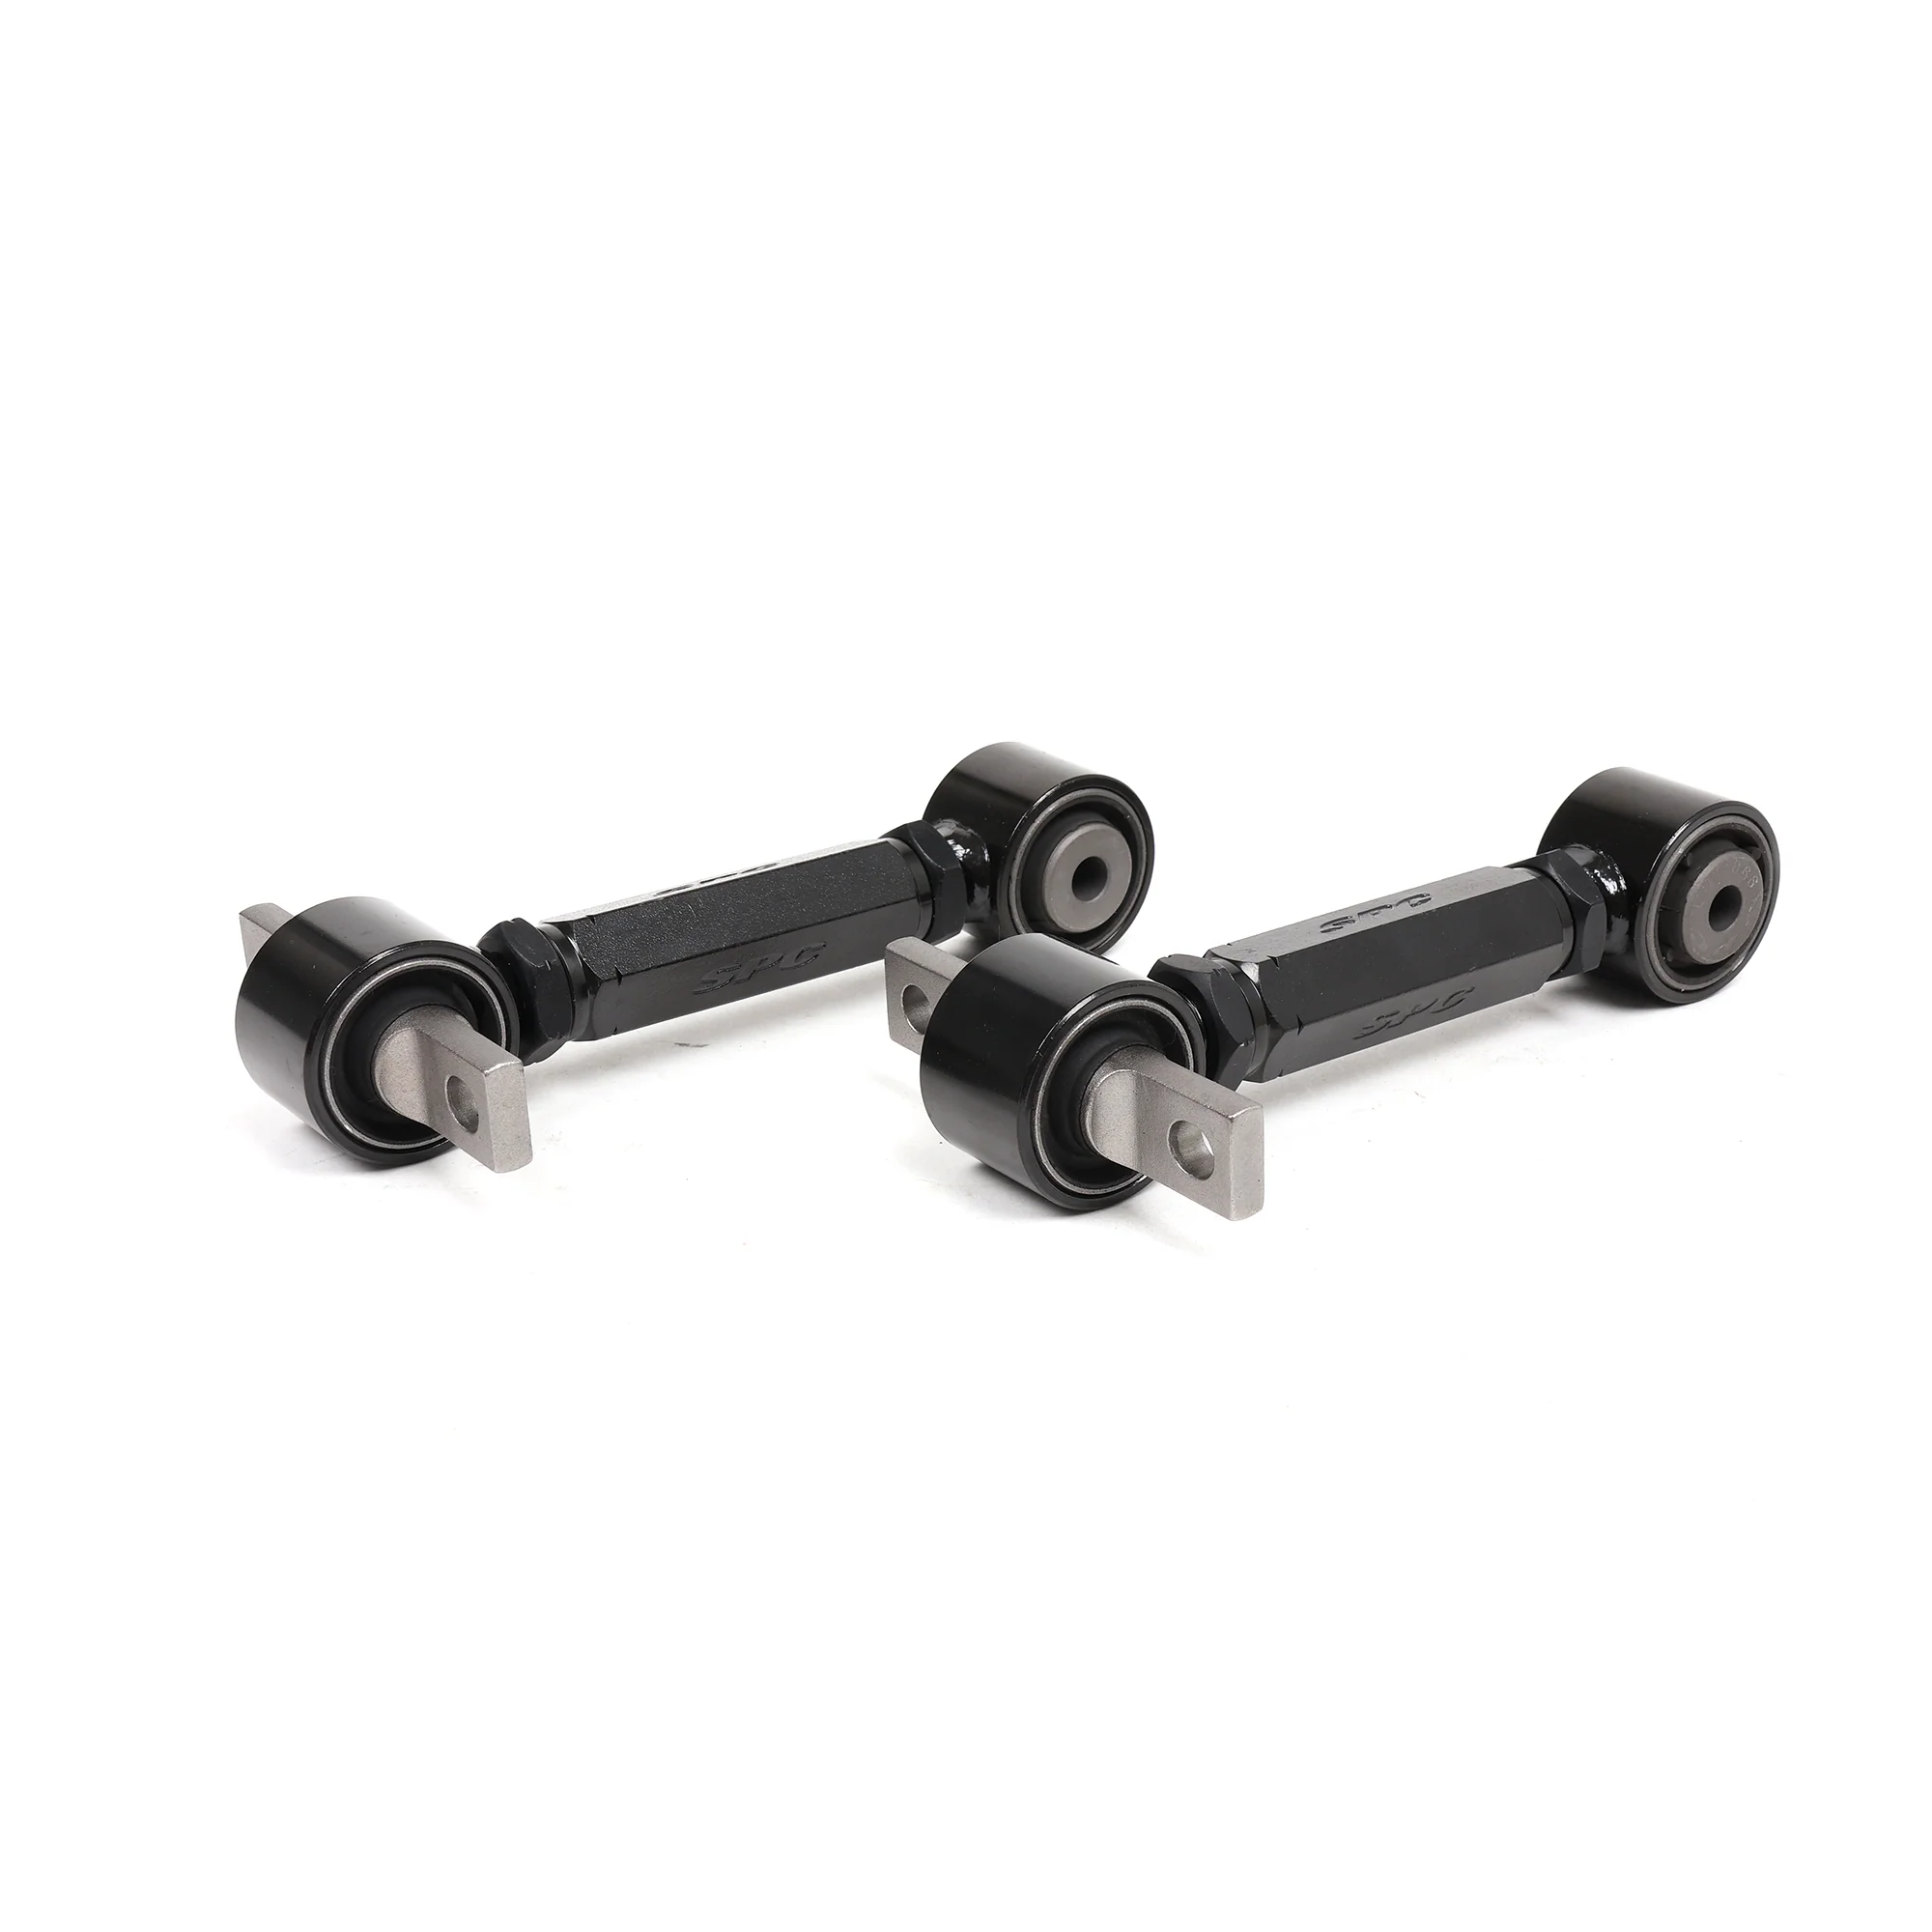
- Pair of adjustable rear upper control arms (left and right)
- +6.0 to -4.0 degrees of camber adjustment range
- Direct replacement for stock upper rear control arms
- All necessary hardware included
- 1-year Eibach warranty against manufacturing defects
Fits Your Car
- 2002-2006 Acura RSX Base
- 2002-2006 Acura RSX Type-S
- 2002-2005 Honda Civic Si (EP3)
- 2001-2005 Honda Civic DX/EX/LX (EM2/ES - 1.7L models)
Note: Professional four-wheel alignment is required after installation. Your rear toe will shift when you remove and install the upper control arm. Don't skip the alignment or you'll eat your tires from toe misalignment. When you're installing the arms, torque the mounting bolts to 43 lb-ft with the car sitting on the ground (suspension loaded). If you torque the bolts with the wheels hanging in the air, the bushings will be pre-twisted and they'll wear out early. After you get the car aligned, check your rear camber settings. For daily driving on lowering springs, target around -0.8 to -1.0 degrees in the rear. For track use, -1.2 to -1.8 degrees works well if you're also running more aggressive front camber. Too much rear camber on a street car will wear your tires fast and make the car feel twitchy. Get it aligned properly and you won't have problems. This kit only adjusts rear camber. If you need front camber adjustment (and you probably do if you lowered the car), Eibach makes a separate front camber bolt kit (part number 5.81280K). Grab both kits if you're doing a complete alignment setup.
-
2002-2006 Acura RSX Base
2002-2006 Acura RSX Type-S
2001-2005 Honda Civic DX/EX/LX
2002-2005 Honda Civic Si
-
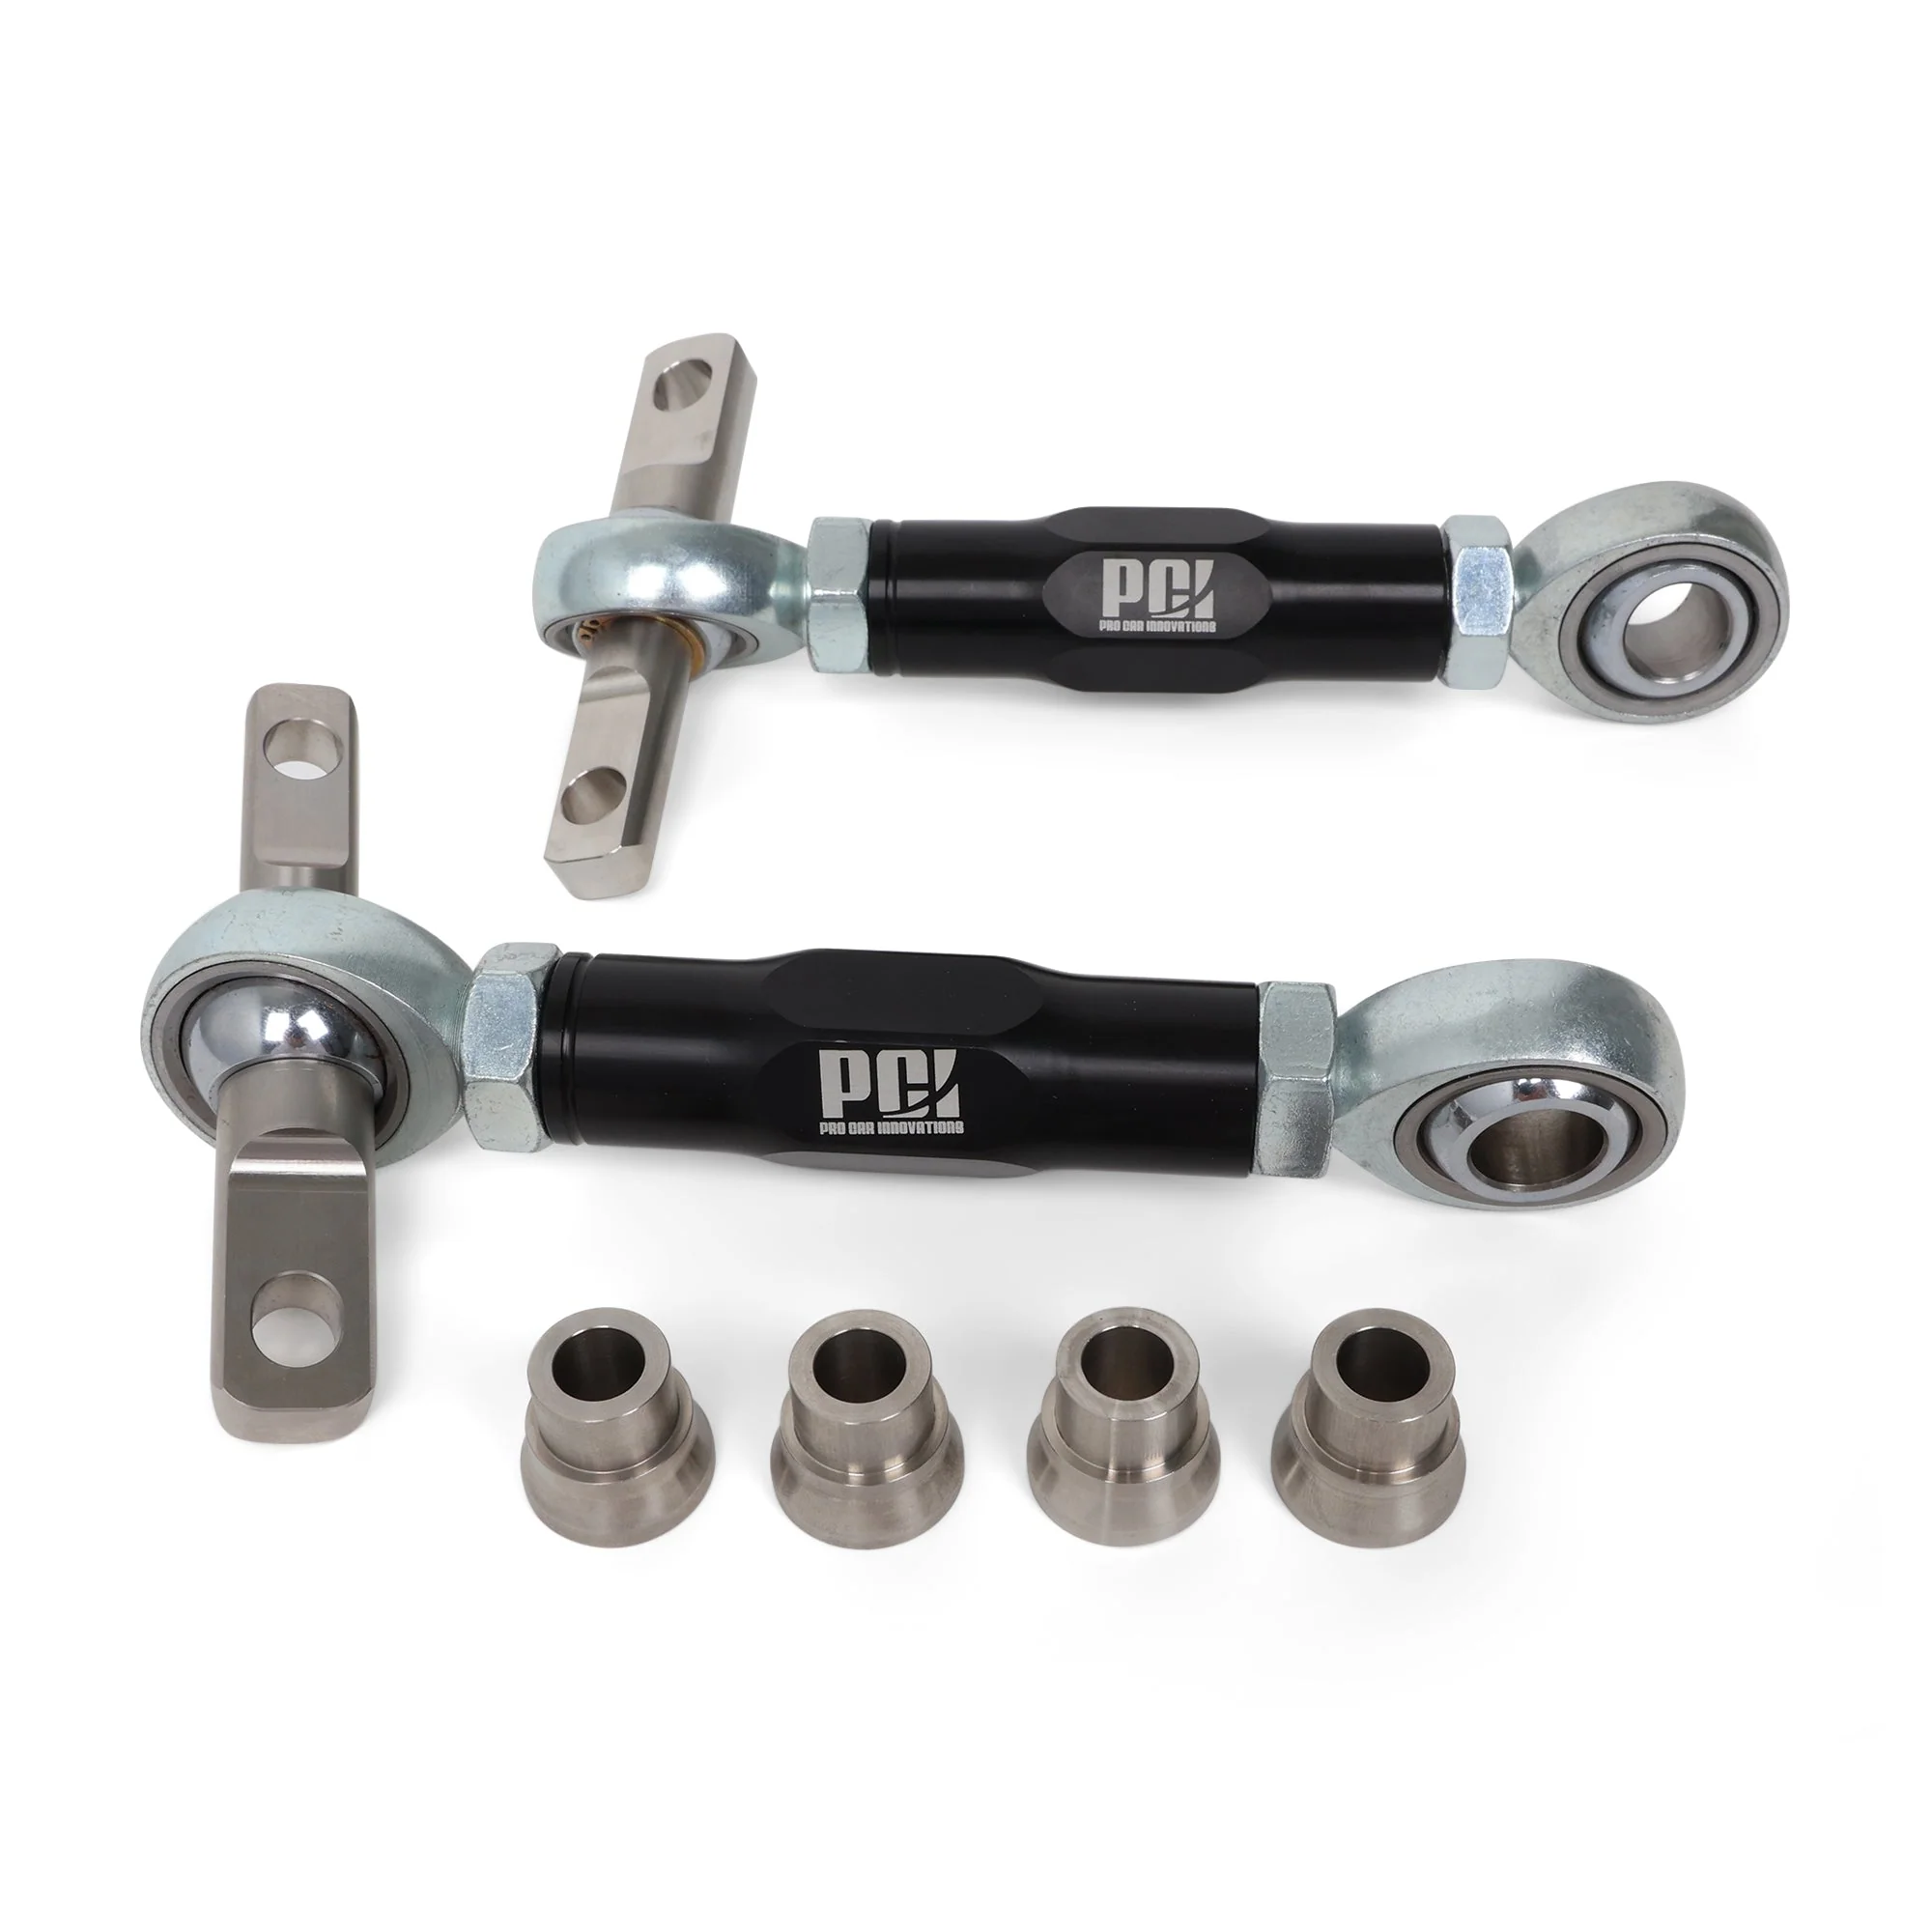
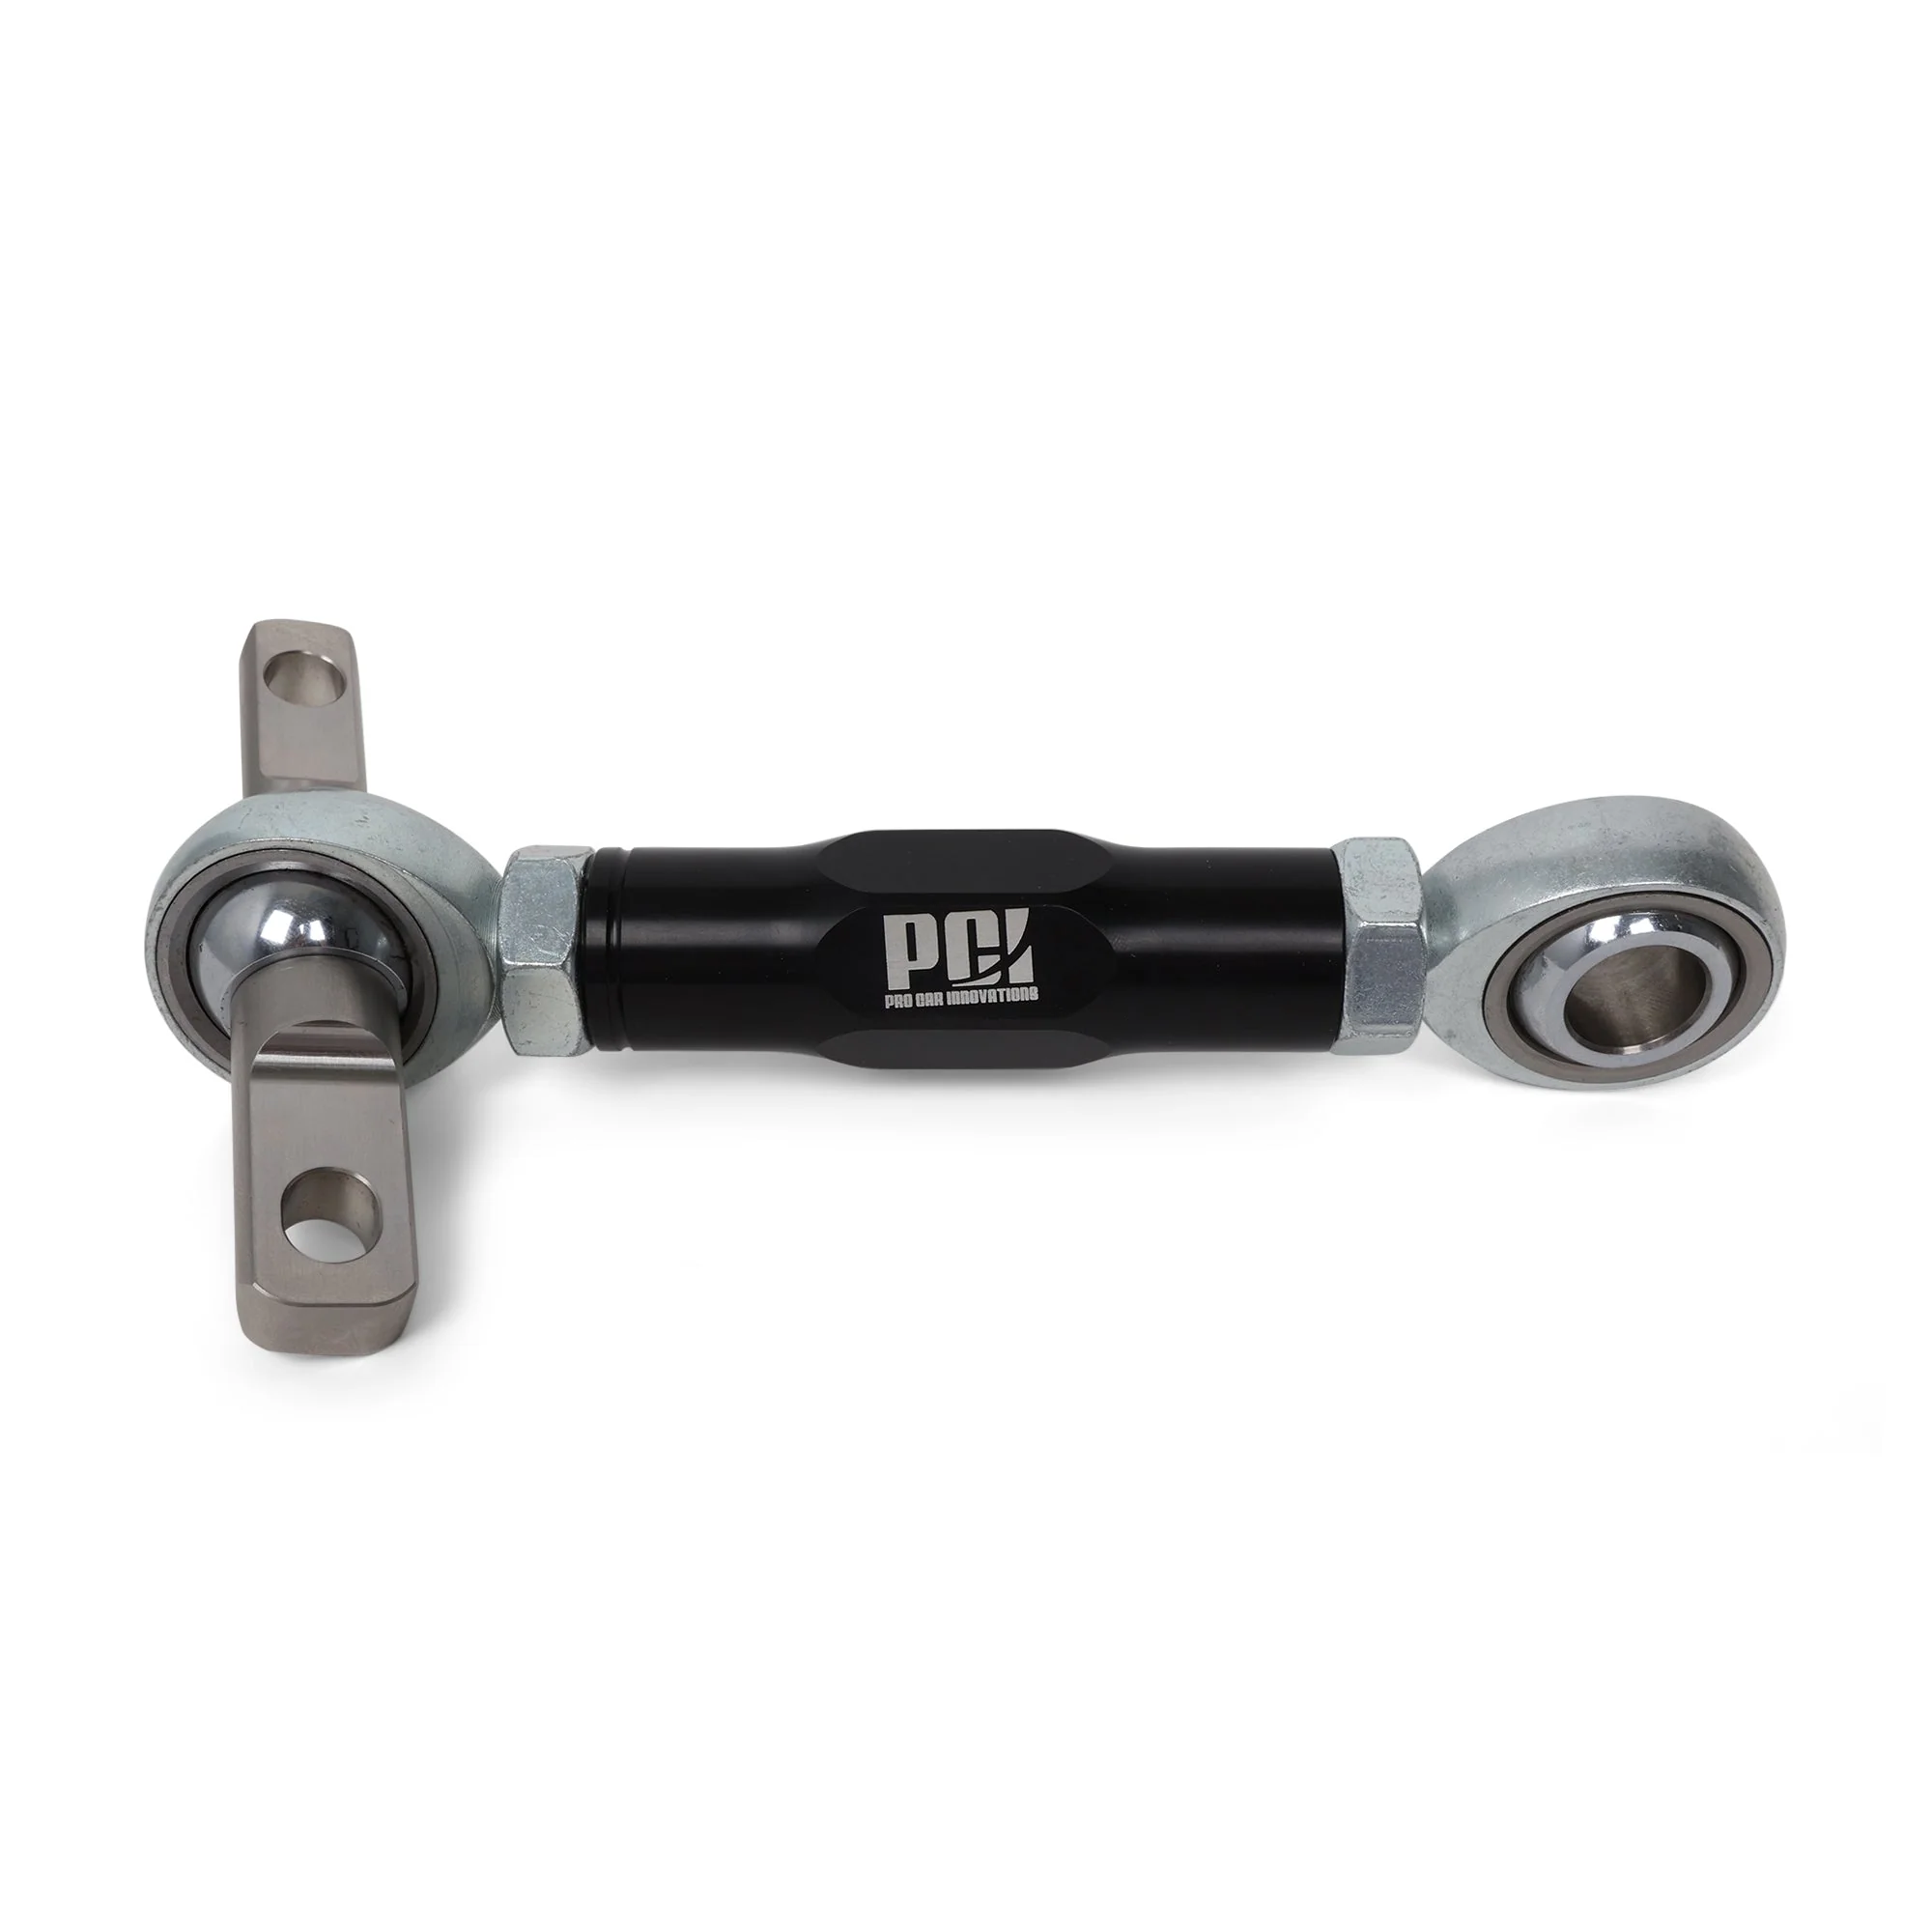
(2) Rear Camber Arms(2) Flanged Hex Nuts

Description
- Camber Adjustment Range +/- 3.0
- Suitable for Street and Track Use
- Fits RSX, EP3 Civic Si, and EM2/ES1 Civic
- Ideal for Dialing in Stance or Track Alignments
- Description
- Vehicle Fitment
- Technical Data
- Included
- Install Guide
-
Eibach Pro-Alignment Rear Camber Kit - RSX / 7th Gen Civic
You lowered your RSX or 7th gen Civic and now you're burning through the inside edge of your rear tires in 10,000 miles. The rear camber's sitting at -2.5 or -3.0 degrees and there's nothing you can adjust because Honda didn't put any camber adjustment in the rear suspension from the factory. You can adjust rear toe but camber's locked in by the suspension geometry. Drop the car 1.5 to 2 inches on springs or coilovers and you're picking up an extra -1.5 to -2.0 degrees of negative camber. Stock camber's around -0.75 degrees which is fine. At -2.5 to -3.0 degrees, the inside edge of your rear tires is getting destroyed and the car's handling feels unstable because the rear end's got way more grip than the front. Eibach's Pro-Alignment kit replaces your non-adjustable upper rear control arm with an adjustable arm that gives you +6.0 to -4.0 degrees of camber adjustment. That's enough range to fix a slammed car or dial in an aggressive track setup.
Here's Why You Can't Adjust Rear Camber from the Factory
The DC5 RSX and 7th gen Civic (EM2/ES/EP3) use a double wishbone rear suspension. Honda designed the rear suspension with fixed-length upper and lower control arms. You can adjust toe because there's an eccentric bolt on the lower arm. Camber? There's no adjustment. The camber angle's determined by the length of the arms and the mounting points. When you lower the car, the suspension geometry changes. The wheels tuck further into the fenders and the camber goes negative. Every inch you drop adds roughly -0.75 to -1.0 degrees of negative camber. A mild drop on lowering springs puts you at -1.5 to -2.0 degrees. An aggressive coilover drop can push you past -3.0 degrees. At that point you're wearing out tires fast and the car doesn't handle right because the rear's gripping way harder than the front.
Upper Arm vs. Lower Arm Kits
There are two ways to adjust rear camber on these cars. You can replace the upper control arm with an adjustable unit (this kit) or you can replace the lower control arm with an adjustable unit (Ingalls-style kits). The upper arm approach is cleaner. When you adjust the upper arm, you're only changing camber. Toe stays where it is. With lower arm kits, adjusting camber also changes toe at the same time. That means you're chasing two variables on the alignment rack instead of one. Adjust the lower arm for camber, then you have to readjust toe, then the camber changes a bit when you set toe, and you're going back and forth. The upper arm keeps it simple. Set your camber, then set your toe independently. You're done faster and the alignment's easier to dial in.
Installation's Straightforward
This job takes about 40 minutes per side with basic hand tools. You're pulling two 17mm bolts to remove the stock upper arm and bolting the Eibach adjustable arm in. Here's the critical part: torque the arm bolts to 43 lb-ft with the suspension loaded. That means the car's sitting on the ground with weight on the suspension, not up on jack stands with the wheels hanging. If you torque the bushings with the suspension unloaded, the bushings are pre-twisted. When you lower the car and load the suspension, the bushings twist even more and they wear out early. Set the car on the ground, torque the bolts, then you're good.
You Need an Alignment After Installation
Don't skip the alignment. When you pull the upper arm and install the adjustable arm, your rear toe's going to shift slightly even if you're careful. Even a little bit of rear toe-out will eat your tires way faster than camber. Get the car to an alignment shop that's comfortable working on lowered cars. Some chain shops won't touch aftermarket suspension components so call ahead and ask before you book. Tell the tech you've installed adjustable rear camber arms and you need a four-wheel alignment. For a daily driver on lowering springs, most people target around -0.8 to -1.0 degrees in the rear. That's close to stock and it won't kill your tires. For track use, -1.2 to -1.8 degrees in the rear works well if you're also running aggressive front camber to keep the handling balance neutral.
What About Front Camber
If you lowered your RSX or Civic, you've probably got too much negative camber in the front too. The front suspension's a MacPherson strut design and it gains negative camber when you lower the car. Eibach makes a front camber bolt kit (part number 5.81280K) that gives you +/- 1.75 degrees of front camber adjustment. That's a separate kit. If you're doing a full suspension refresh and you want to control camber front and rear, grab both kits and do the alignment all at once.
What You Get
- Eibach Pro-Alignment rear camber kit (part number 5.67230K)
- Pair of adjustable rear upper control arms (left and right)
- +6.0 to -4.0 degrees of camber adjustment range
- Direct replacement for stock upper rear control arms
- All necessary hardware included
- 1-year Eibach warranty against manufacturing defects
Fits Your Car
- 2002-2006 Acura RSX Base
- 2002-2006 Acura RSX Type-S
- 2002-2005 Honda Civic Si (EP3)
- 2001-2005 Honda Civic DX/EX/LX (EM2/ES - 1.7L models)
Note: Professional four-wheel alignment is required after installation. Your rear toe will shift when you remove and install the upper control arm. Don't skip the alignment or you'll eat your tires from toe misalignment. When you're installing the arms, torque the mounting bolts to 43 lb-ft with the car sitting on the ground (suspension loaded). If you torque the bolts with the wheels hanging in the air, the bushings will be pre-twisted and they'll wear out early. After you get the car aligned, check your rear camber settings. For daily driving on lowering springs, target around -0.8 to -1.0 degrees in the rear. For track use, -1.2 to -1.8 degrees works well if you're also running more aggressive front camber. Too much rear camber on a street car will wear your tires fast and make the car feel twitchy. Get it aligned properly and you won't have problems. This kit only adjusts rear camber. If you need front camber adjustment (and you probably do if you lowered the car), Eibach makes a separate front camber bolt kit (part number 5.81280K). Grab both kits if you're doing a complete alignment setup.
-
2002-2006 Acura RSX Base
2002-2006 Acura RSX Type-S
2001-2005 Honda Civic DX/EX/LX
2002-2005 Honda Civic Si
-
(2) Rear Camber Arms(2) Flanged Hex Nuts